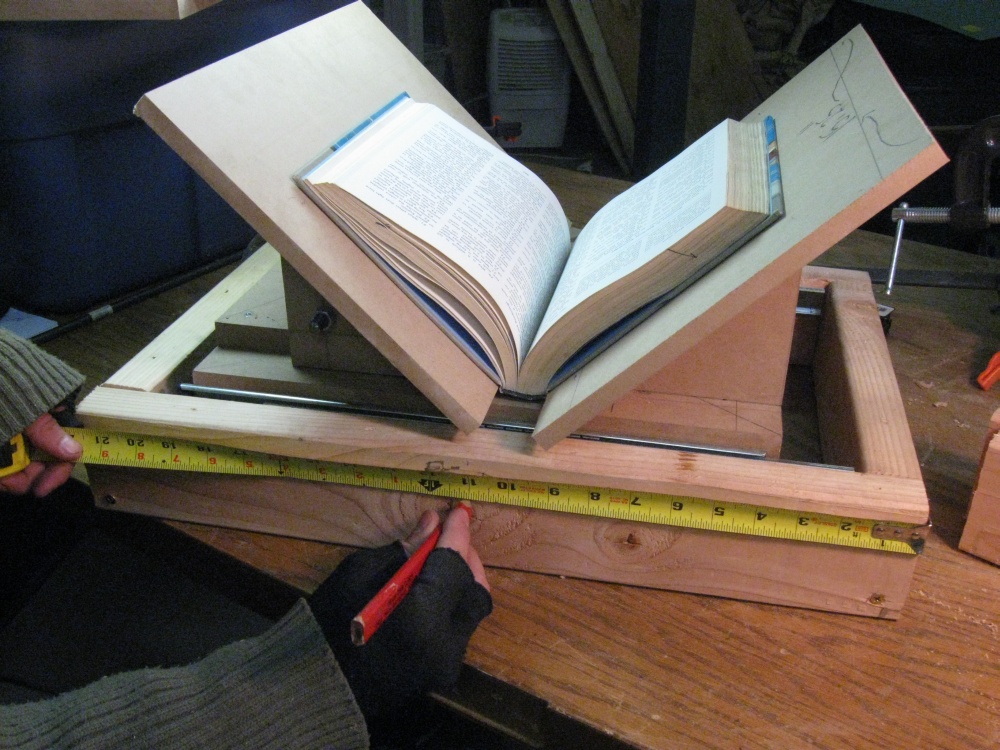
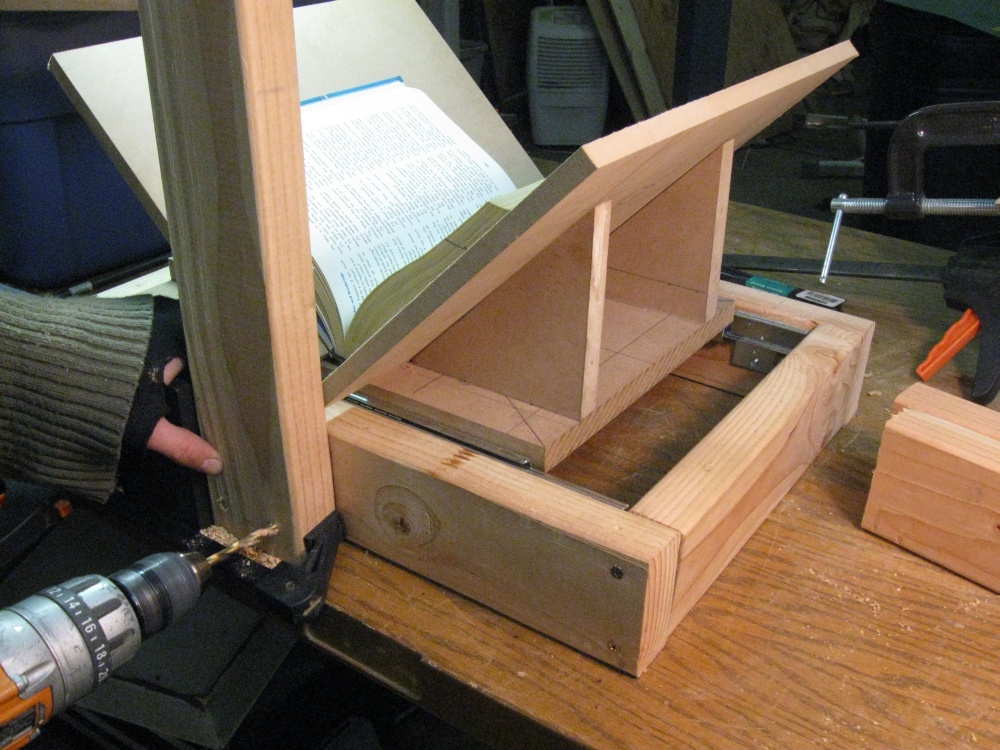
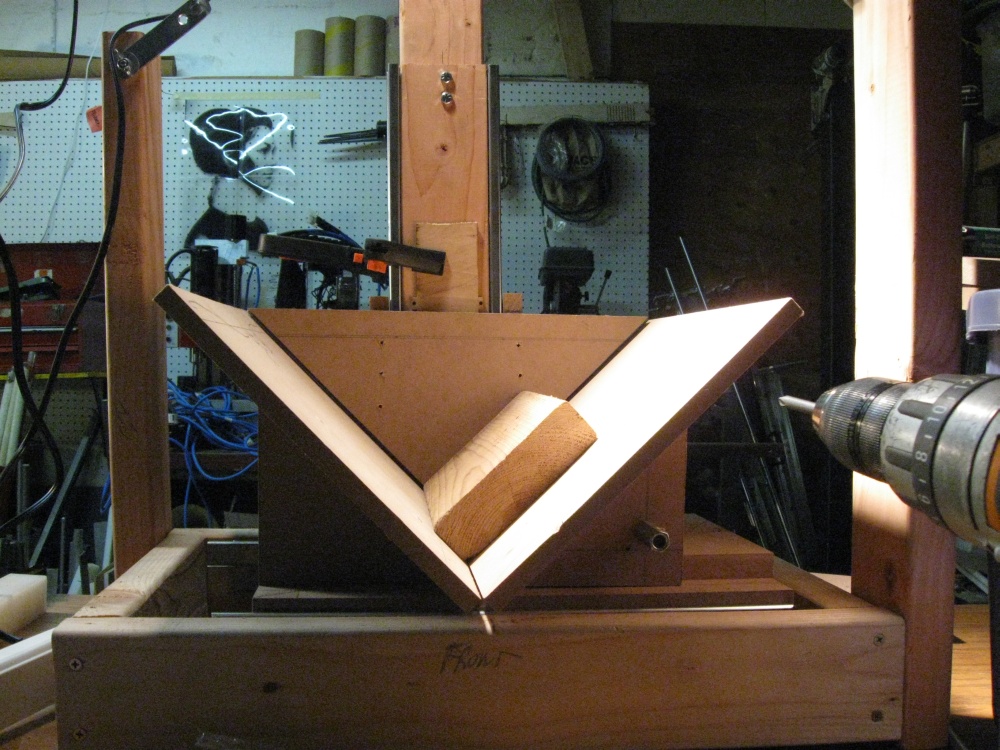
The platen is the part of the scanner that presses into the book. Its purpose is to hold the pages flat.
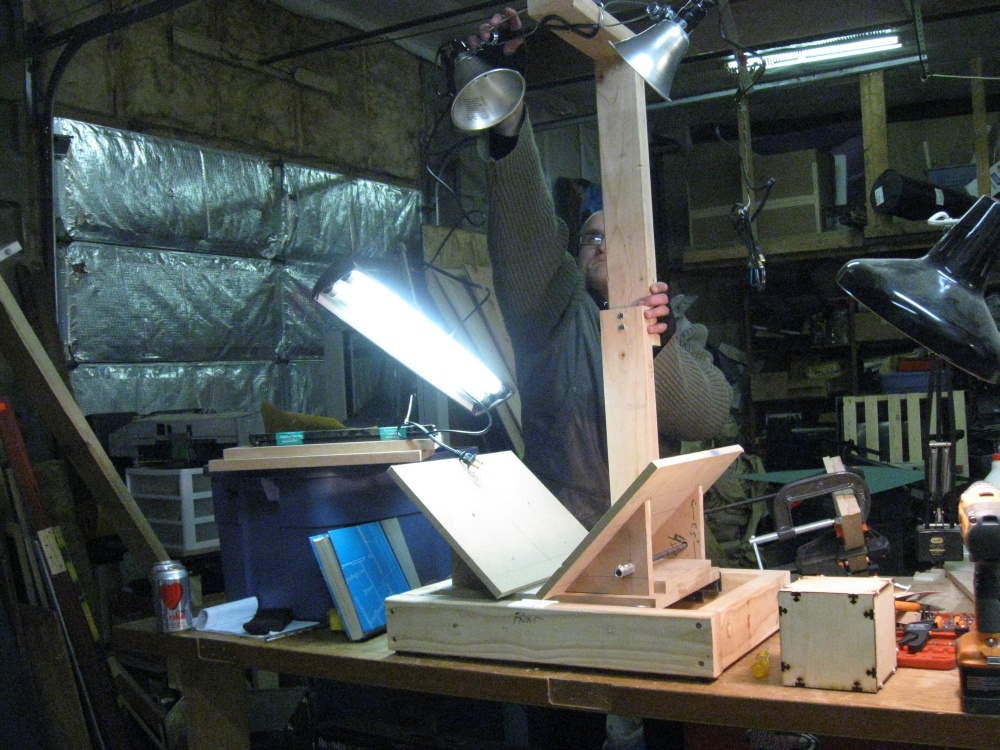
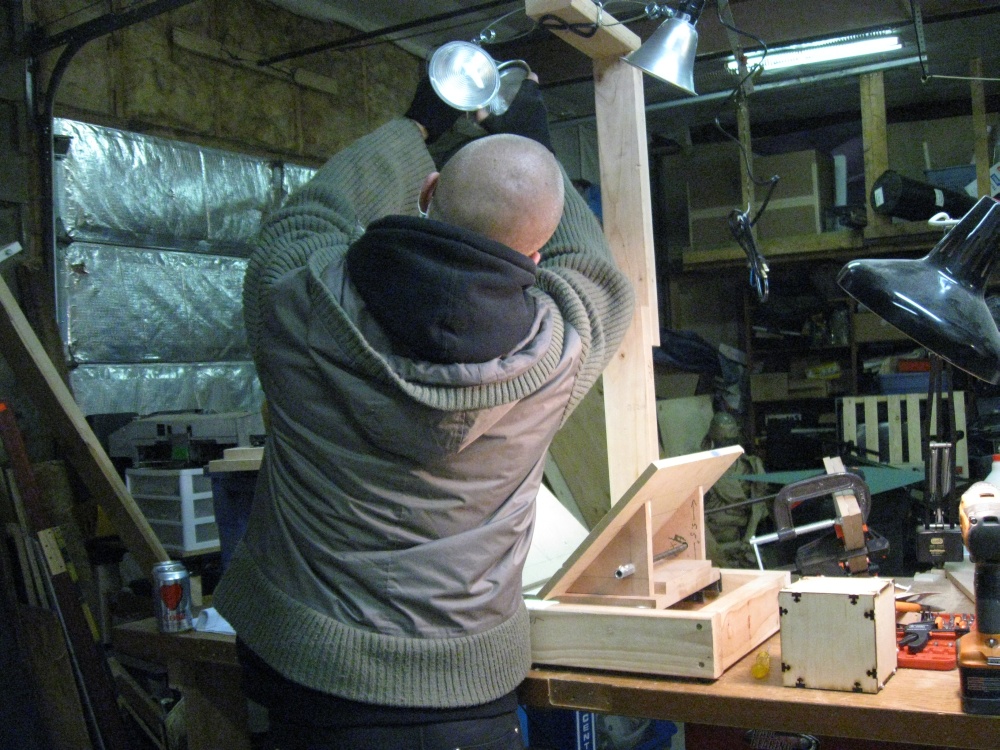
The design I present here is not perfect -- there is definitely room for improvement. However, it is good enough to get going, easy enough to build, and a good start for a first scanner build.
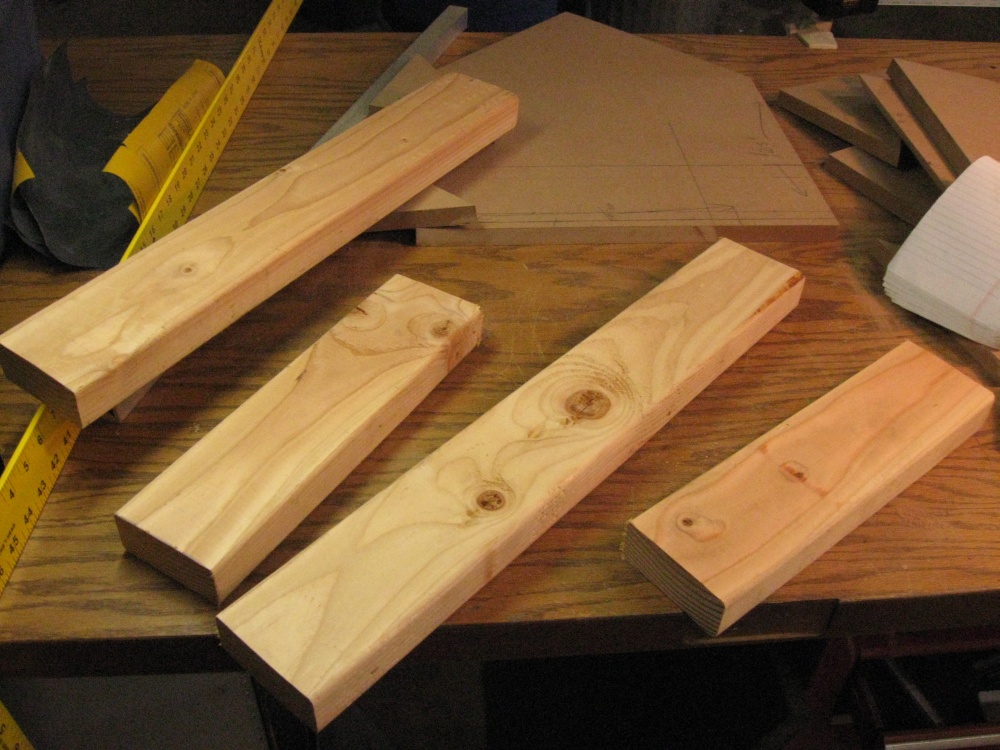
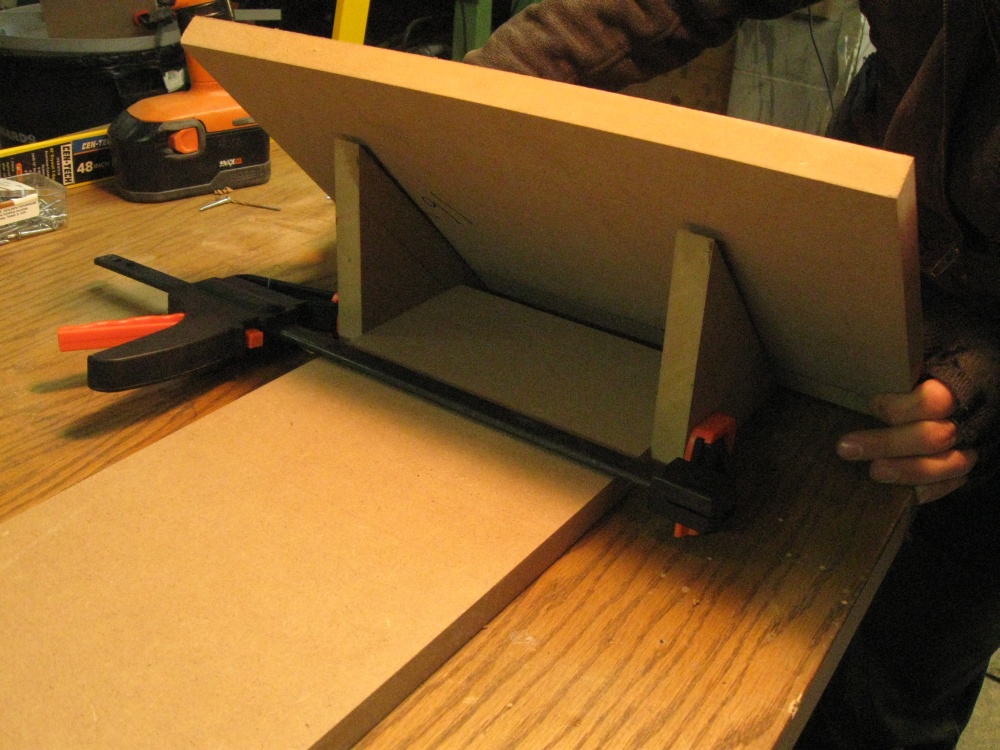
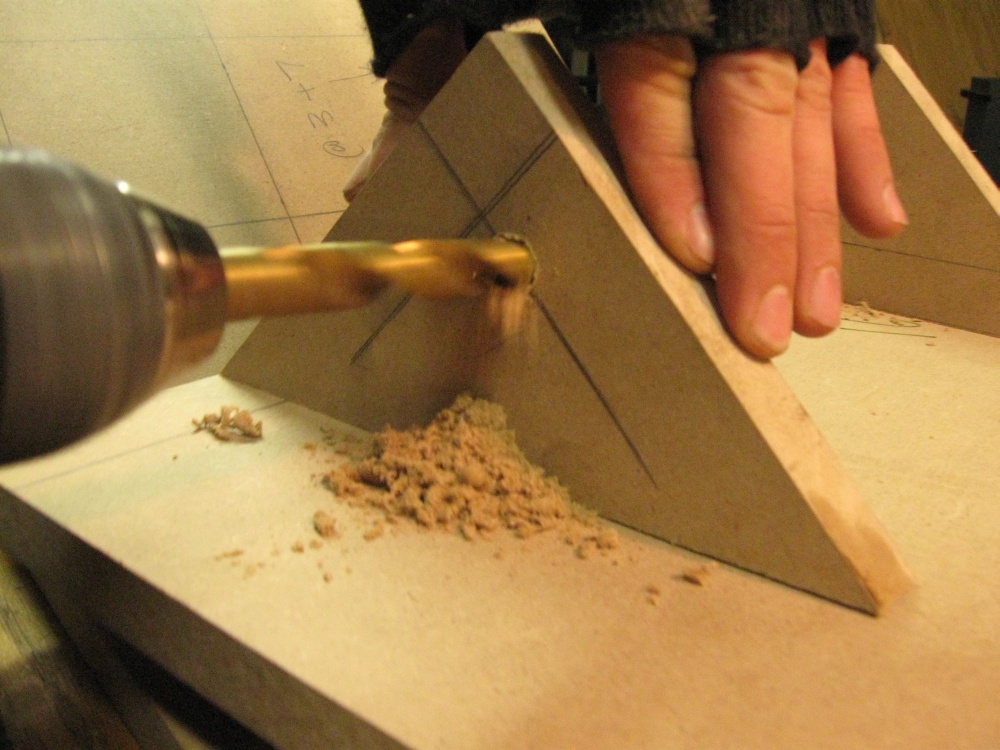
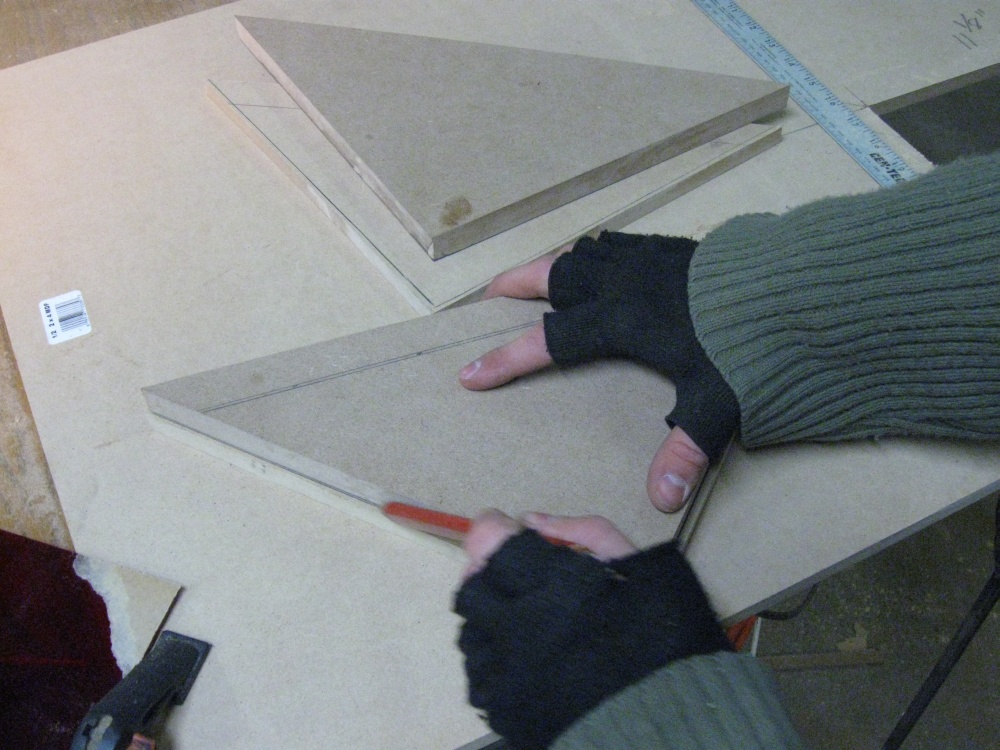
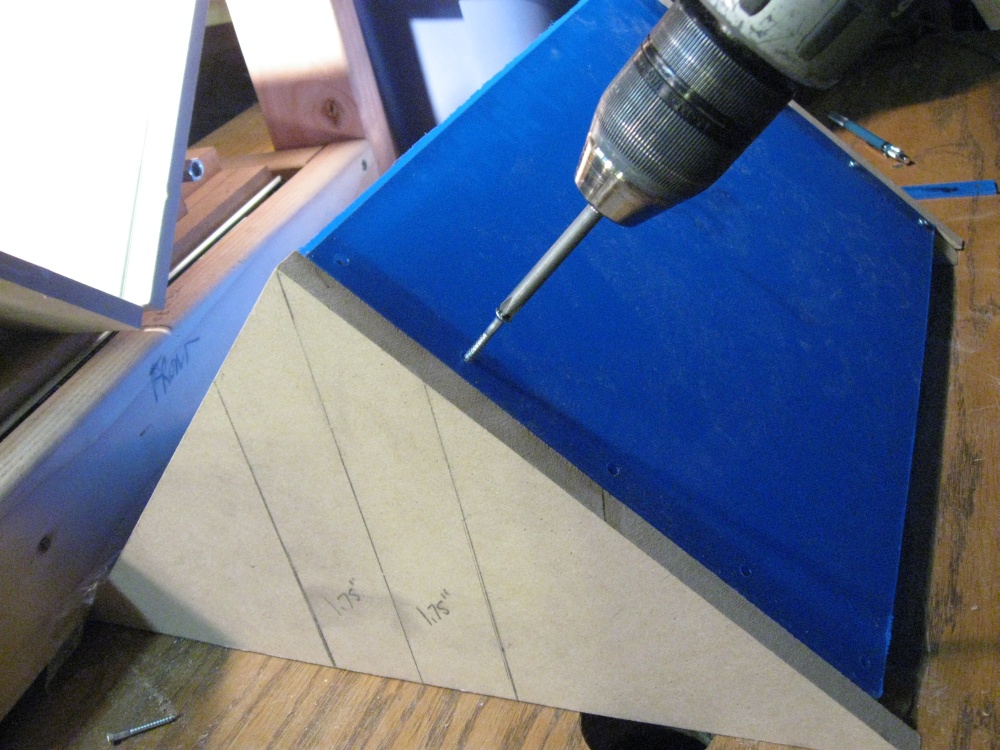
First, cut an 11" square from 3/4" MDF. Then bisect the square to make two triangles.

Now cut an 11 1/4" square from 1/2" MDF. Then bisect the square to make two triangles. The image says 11 1/8", but it should be 11 1/4" to account for the thickness of the glass on both sides.

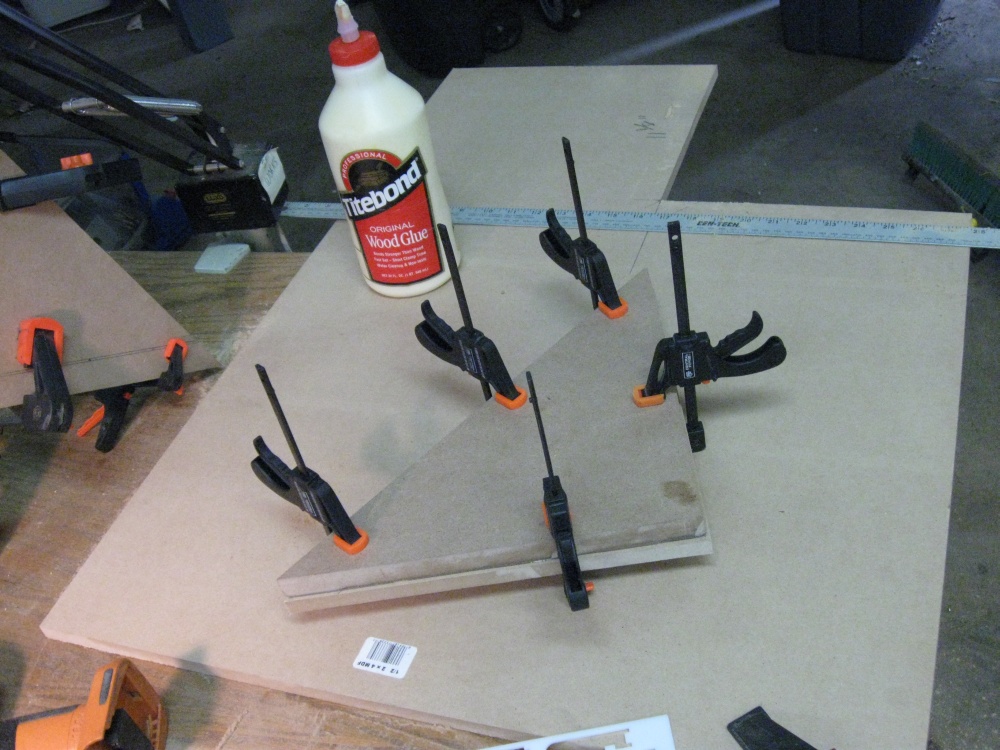
Put the pieces together -- 1/2" on the bottom, 3/4" on top. Mark them so that the 1/2" piece overhangs a perfect 1/8".
Apply wood glue.

Clamp like crazy. Do this operation to both sides.
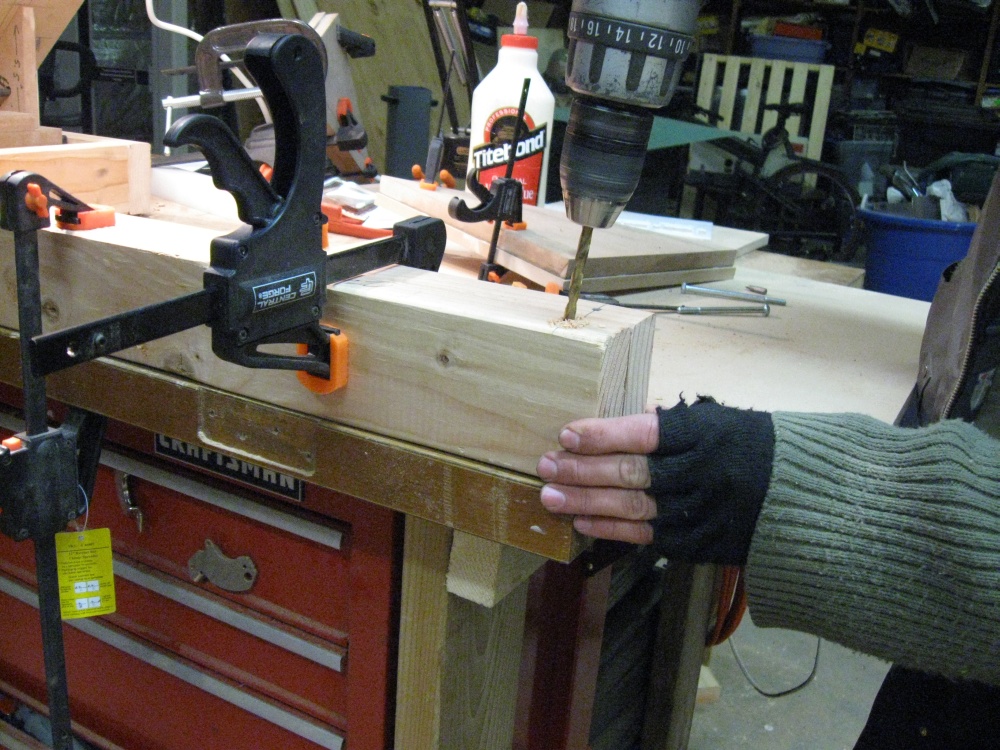
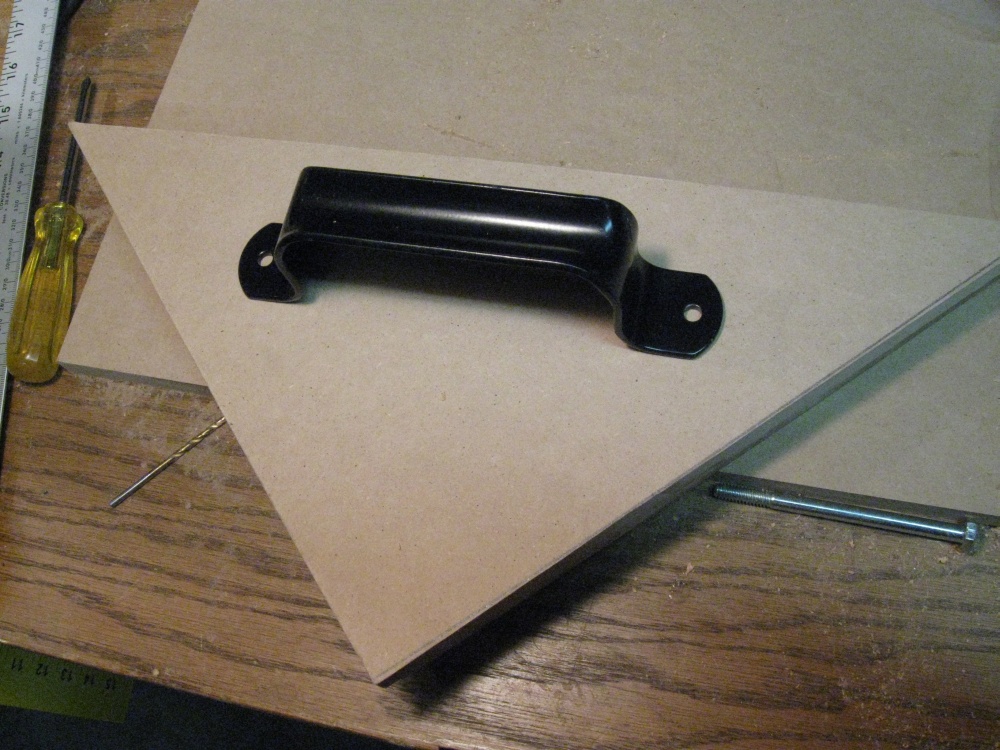
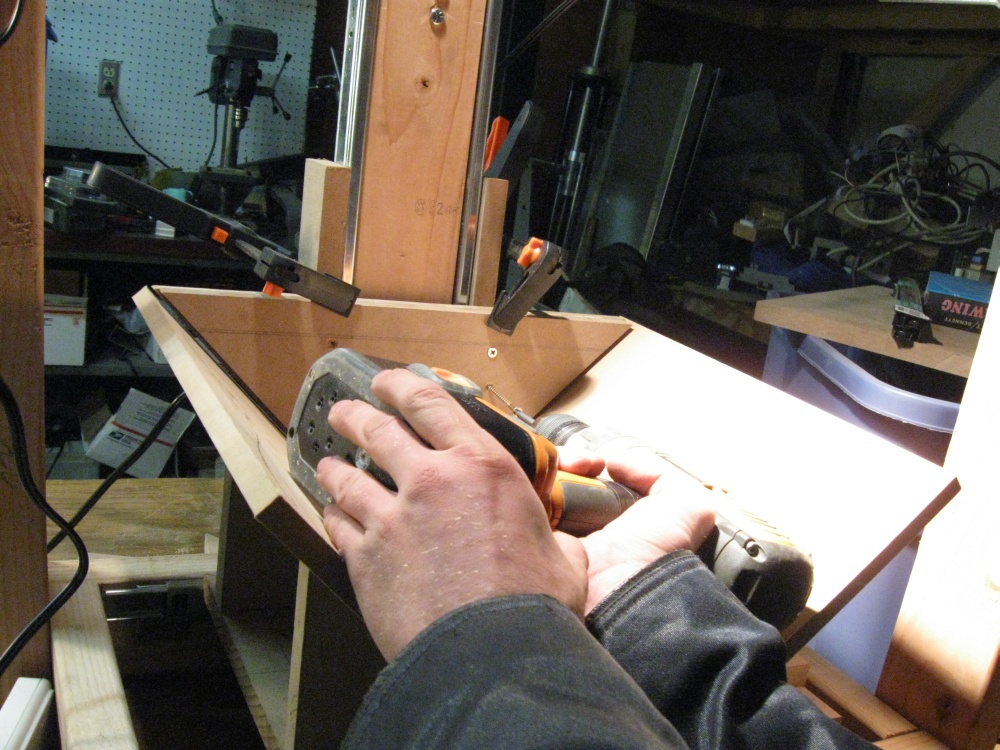
After the glue has dried, take the clamps off. This is also a good time to mount your handle. Just lay it in place, pre-drill the holes,
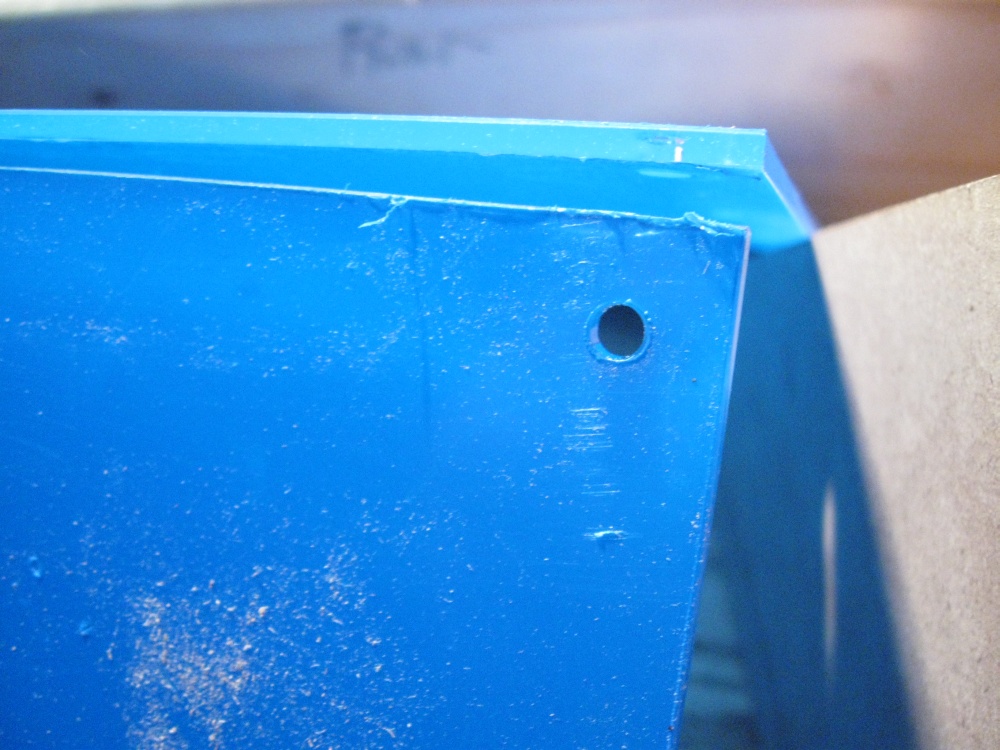
At this point in your project, you have two choices. Your platen can be made from glass or acrylic. Because this scanner was to be disassembled and put in the mail, it was important that the platen be disassemble-able and also not super-fragile. I went with acrylic. With acrylic, it is possible to screw-mount the acrylic. With glass, the best mount is a slow-curing epoxy.
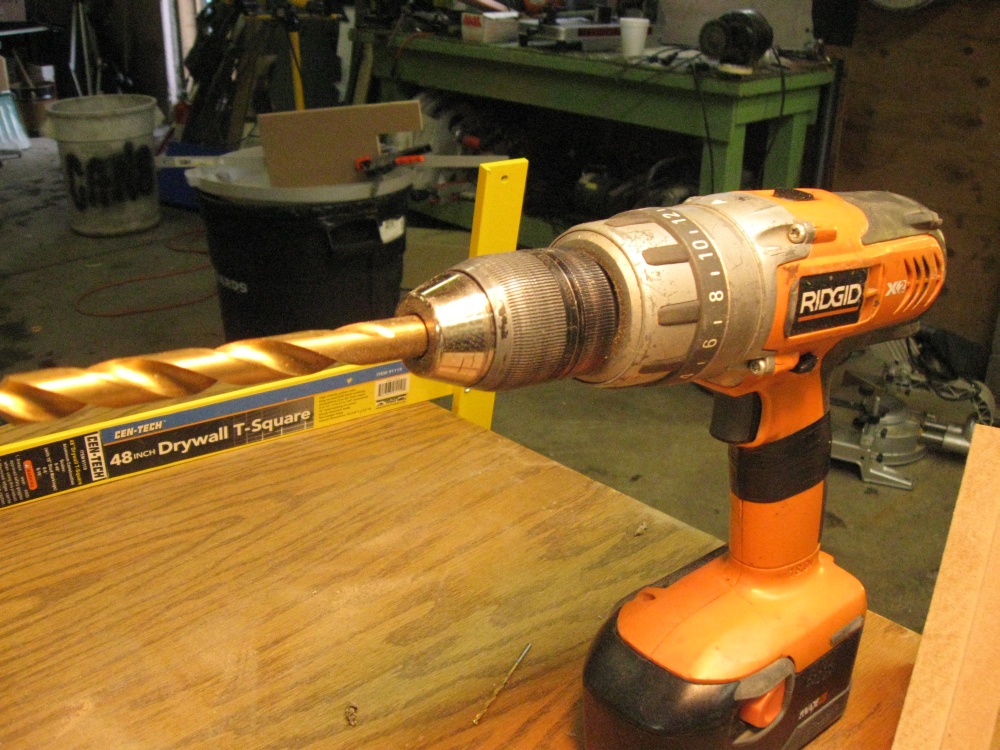
To begin, I drilled the two sheets of acrylic. Tip: put a little dish soap on your drill bit. The acrylic will cleanly drill without cracking.
I then copied the hole pattern into a sliver of acrylic that was the same width as the 3/4" piece. You could also do this with any other material. Drill the holes.
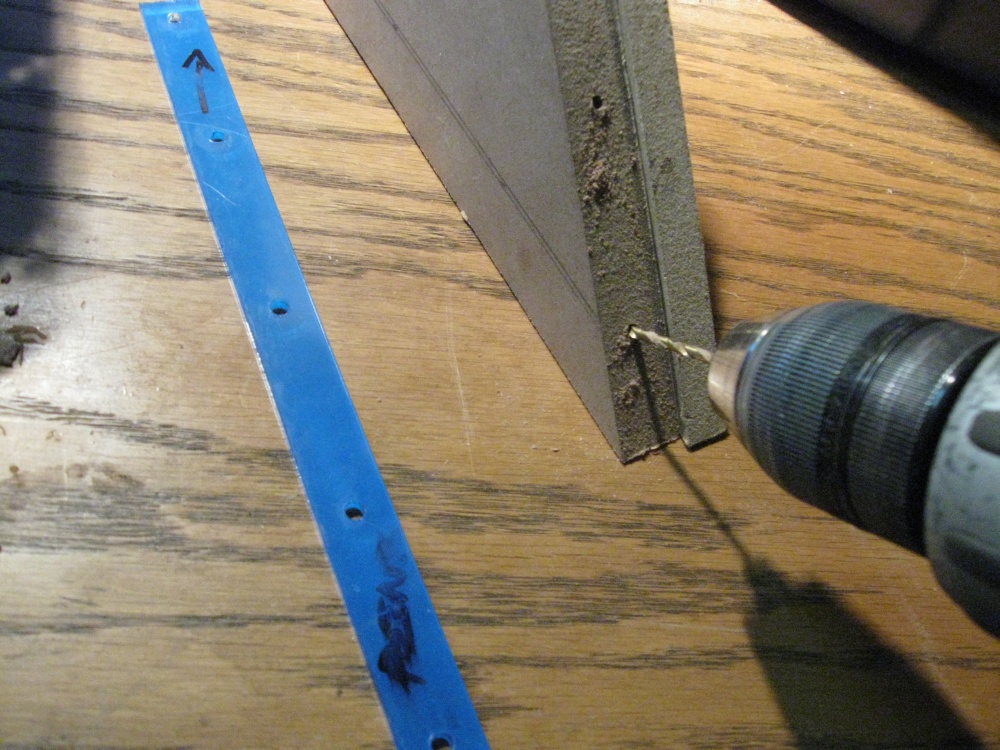
Screw the acrylic in place.
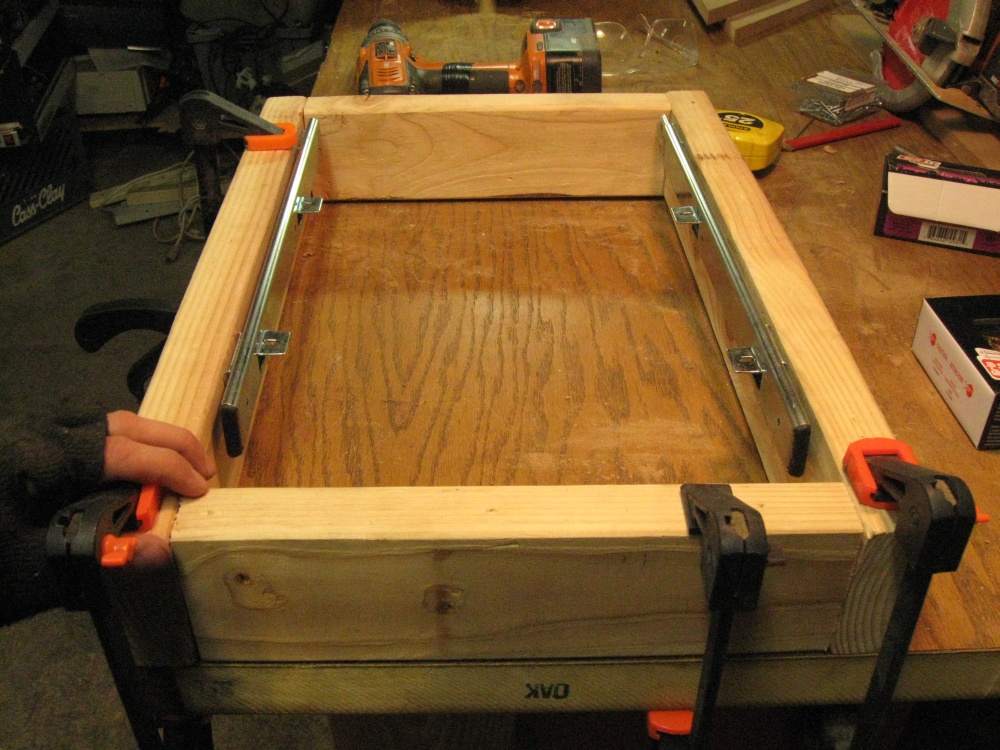
Now comes one of the most difficult parts of this construction process. We want to mount drawer slides to the column, and mount the platen to those slides.
First, remove the rubber stops on the end of the slides. These stops are designed to "catch" the slide at the extremes of its travel. That is not appropriate for our application. Just pull them off.
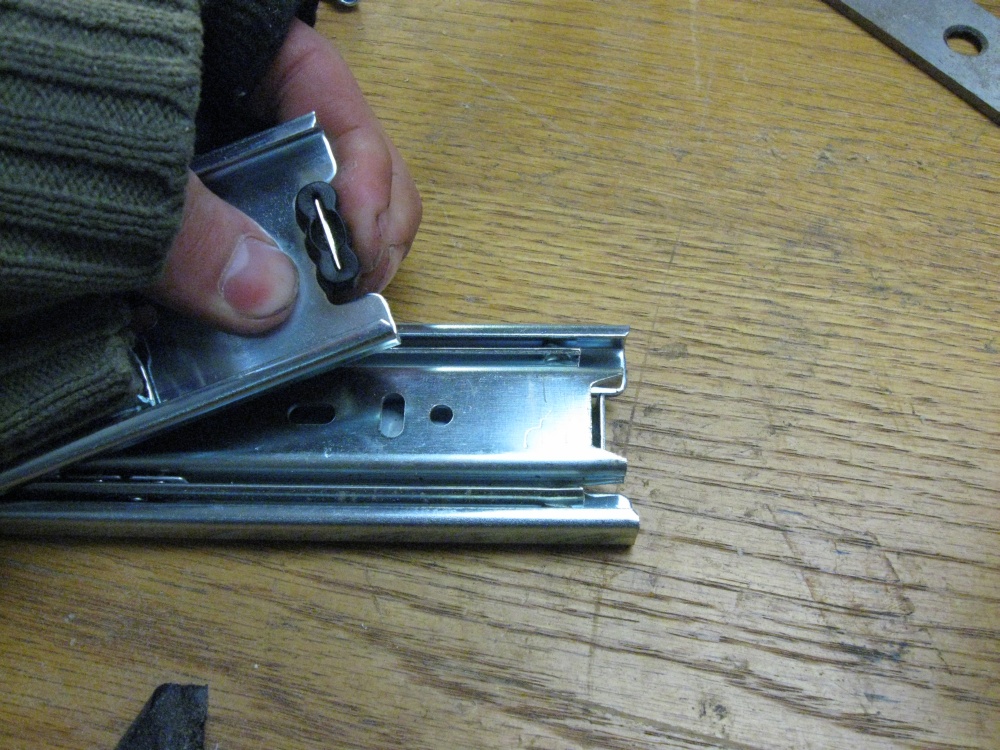
We will mount the slides to the column first. To do that, we need to remove the small part of the slide. Press the small black lever to release the small part.
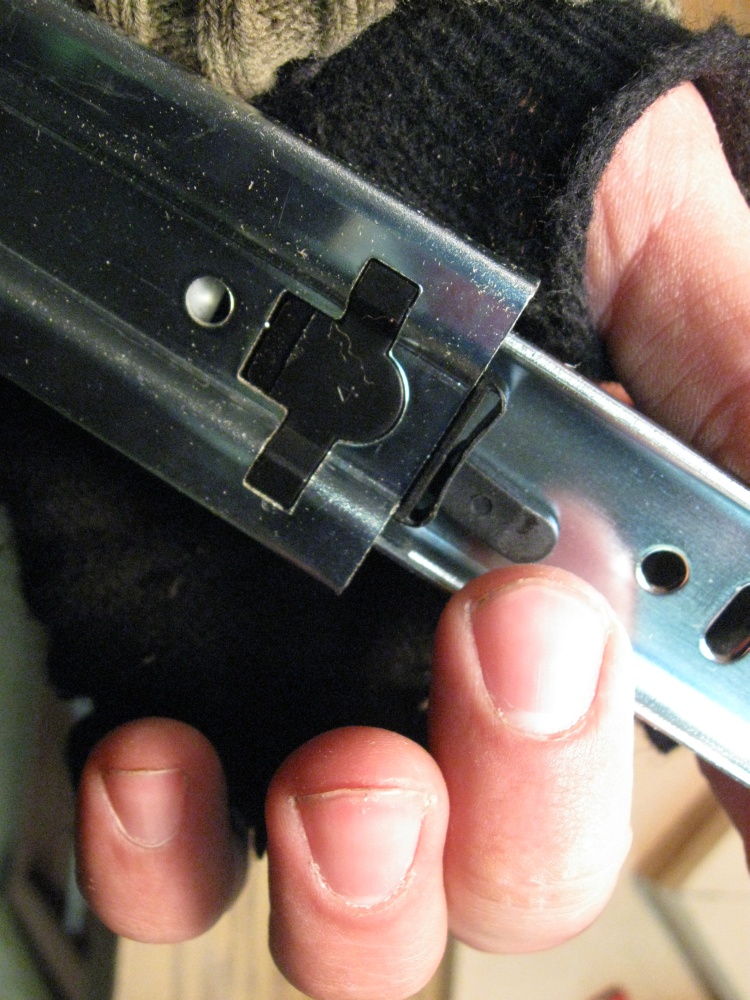
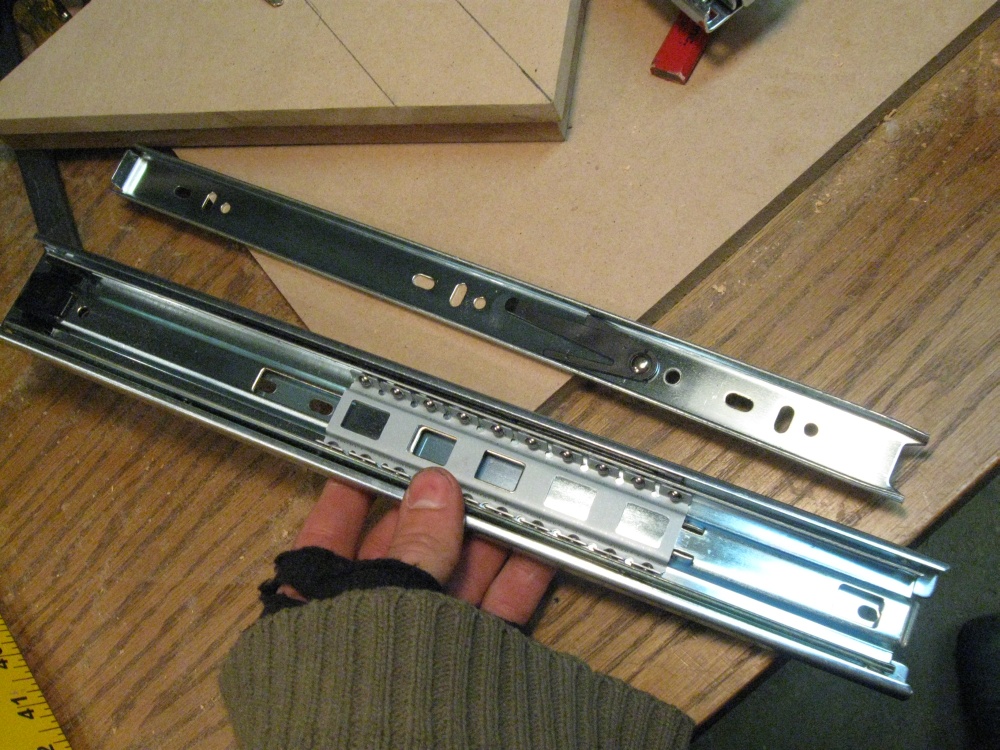
This is what they look like separated. Now we have easy access to the mounting holes.
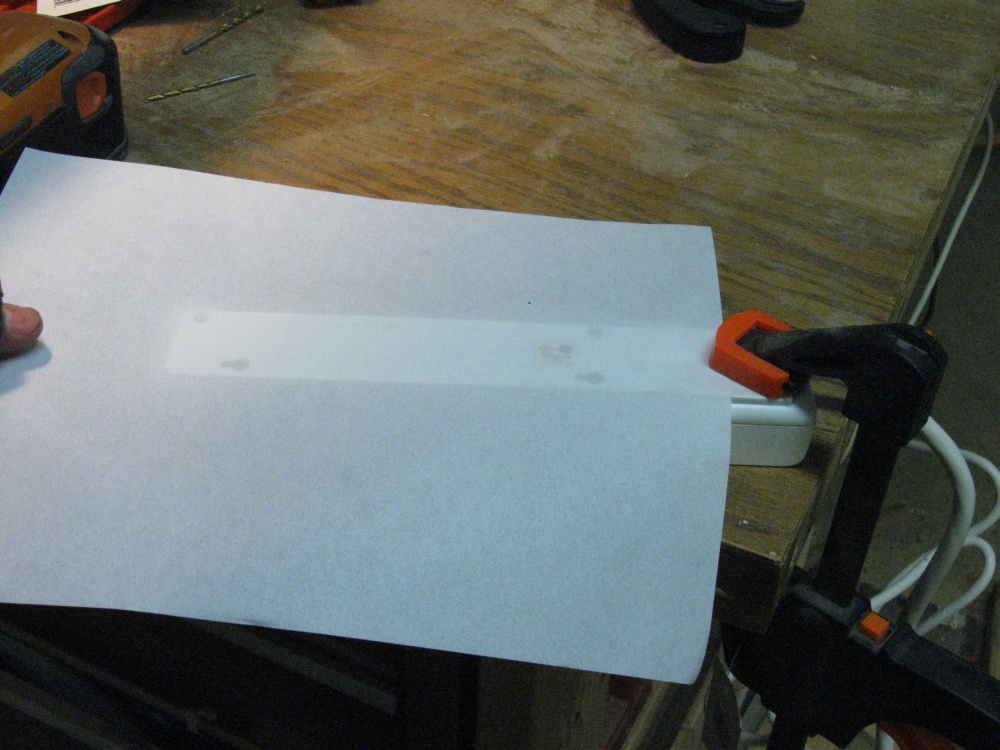
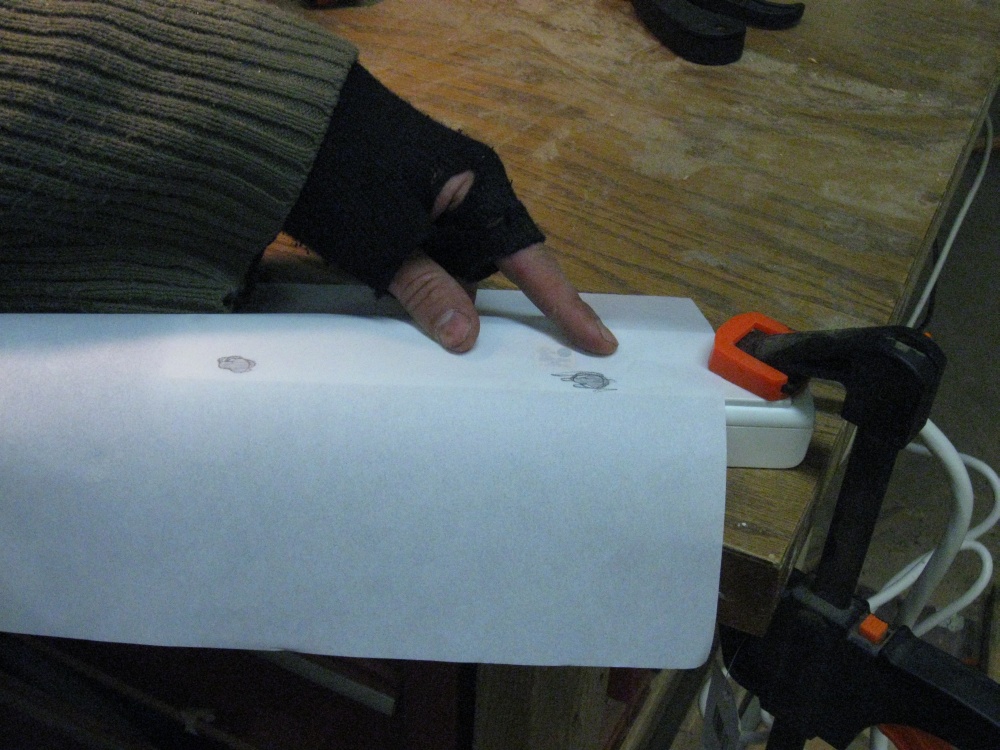
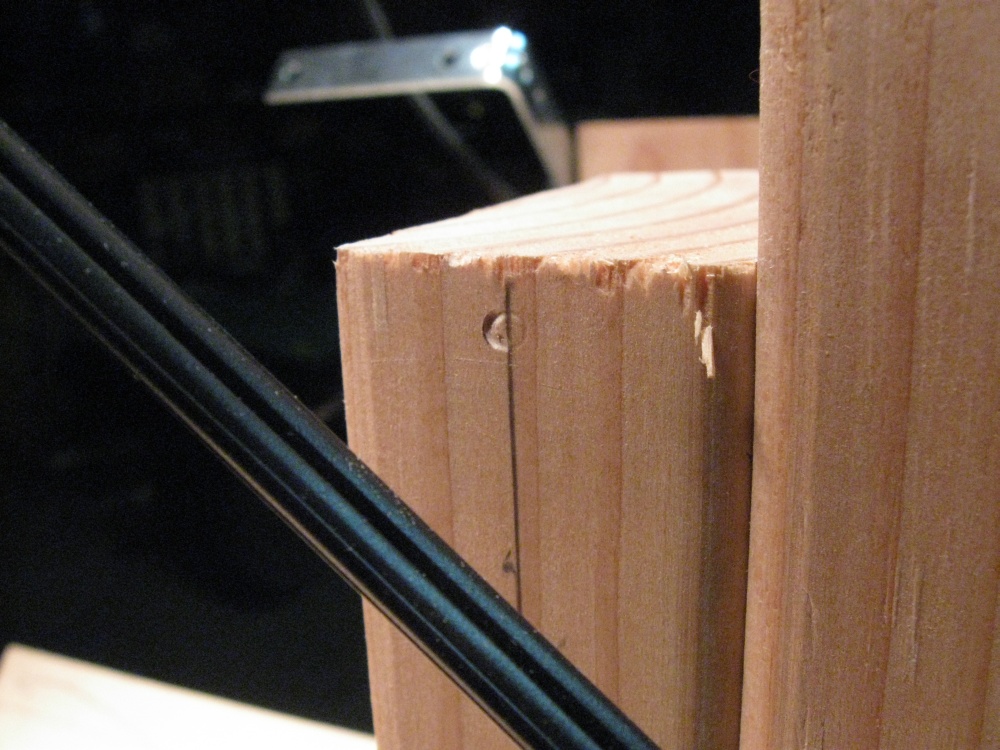
Locate the slides on the column. I simply mounted them flush with the top of the bottom half. This is not a super-critical measurement. Mark the holes with a pencil. You should end up with mounting circles as shown. Pre-drill these holes.
Now, screw the slides in place using flat-head 1 1/4" screws.

Mounted slides look like this.

Do the other side, too.

Done.

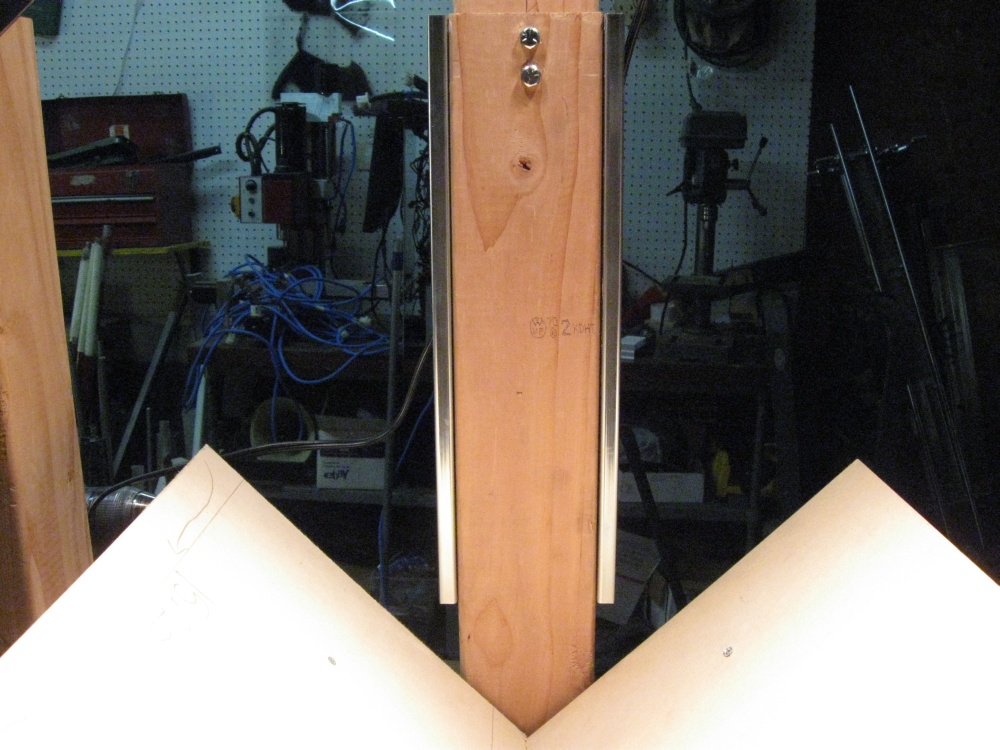
Here's what they should look like from the front. Be sure they are very straight and parallel.
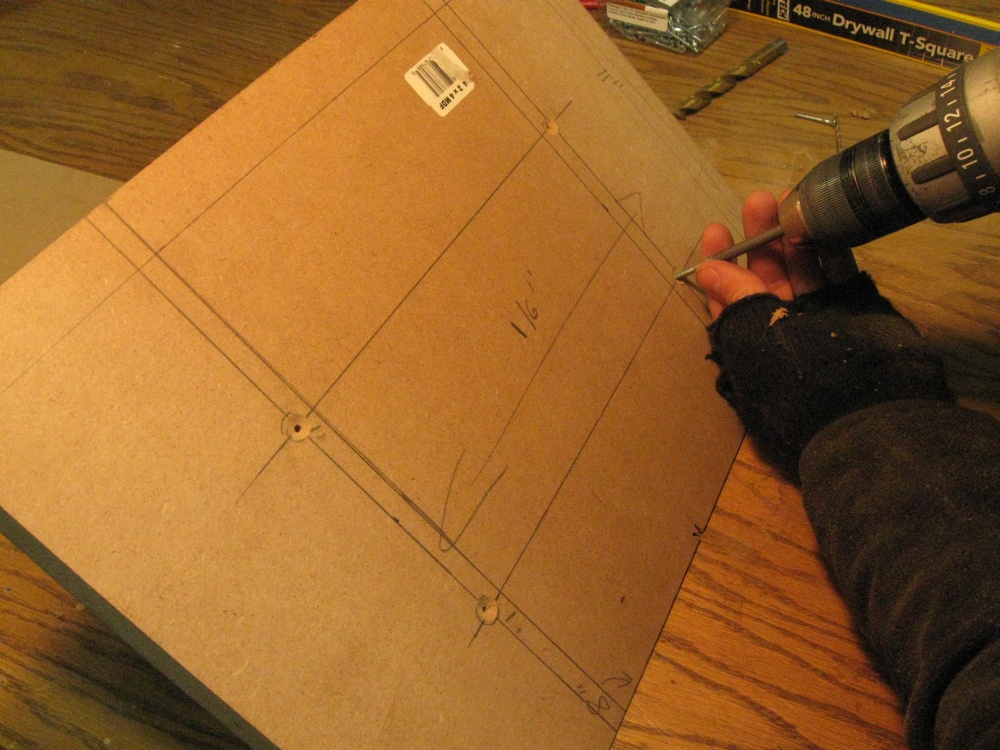
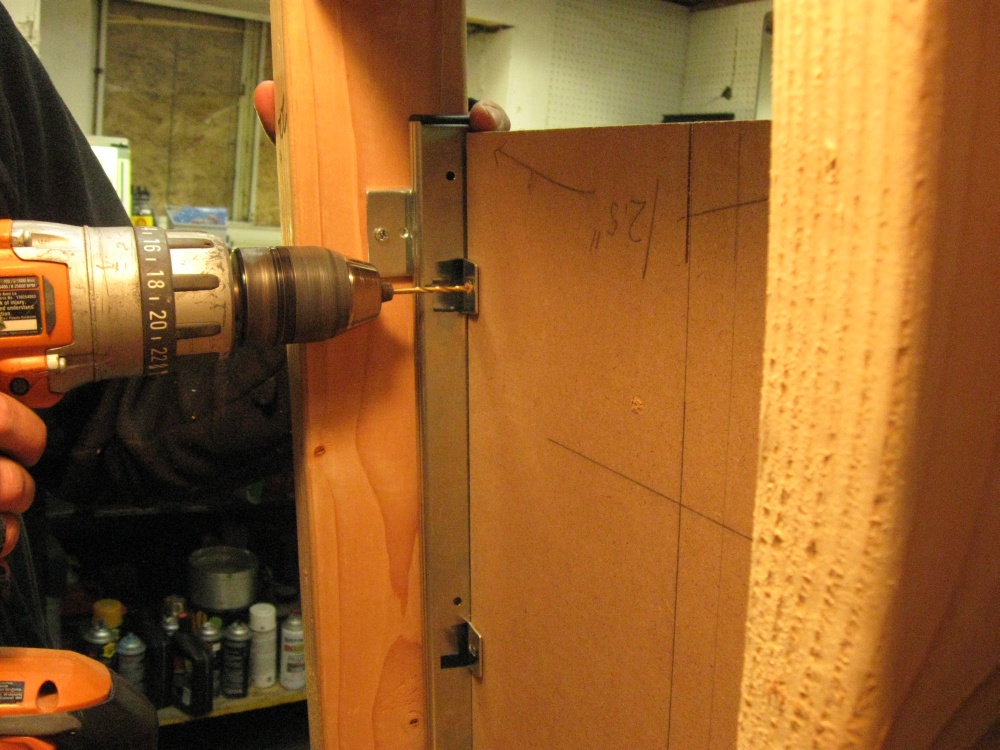
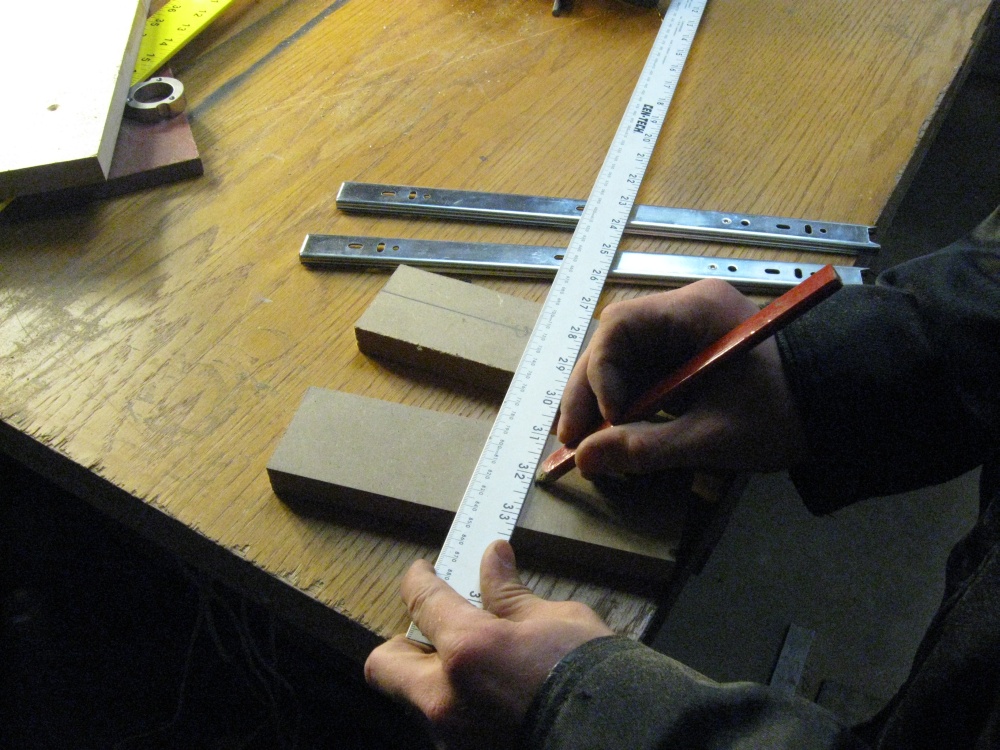
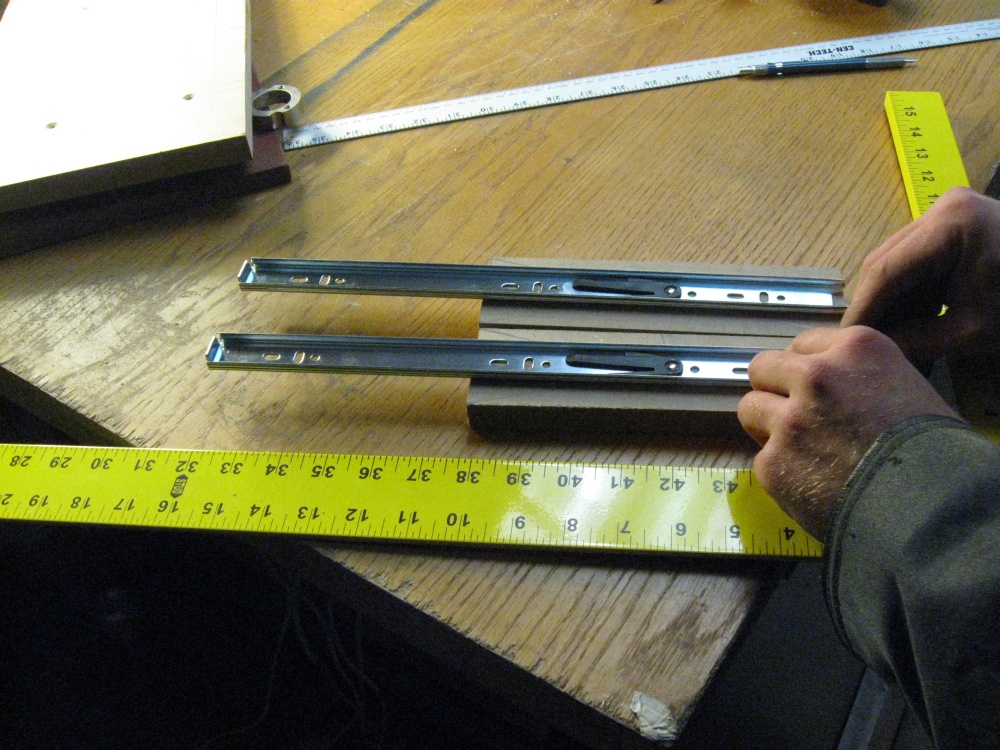
Measure the width of the column plus the drawer slides.

Mark the back piece of the platen with this new measurement, centered on the... center. The idea is to be able to center the back piece on the column.

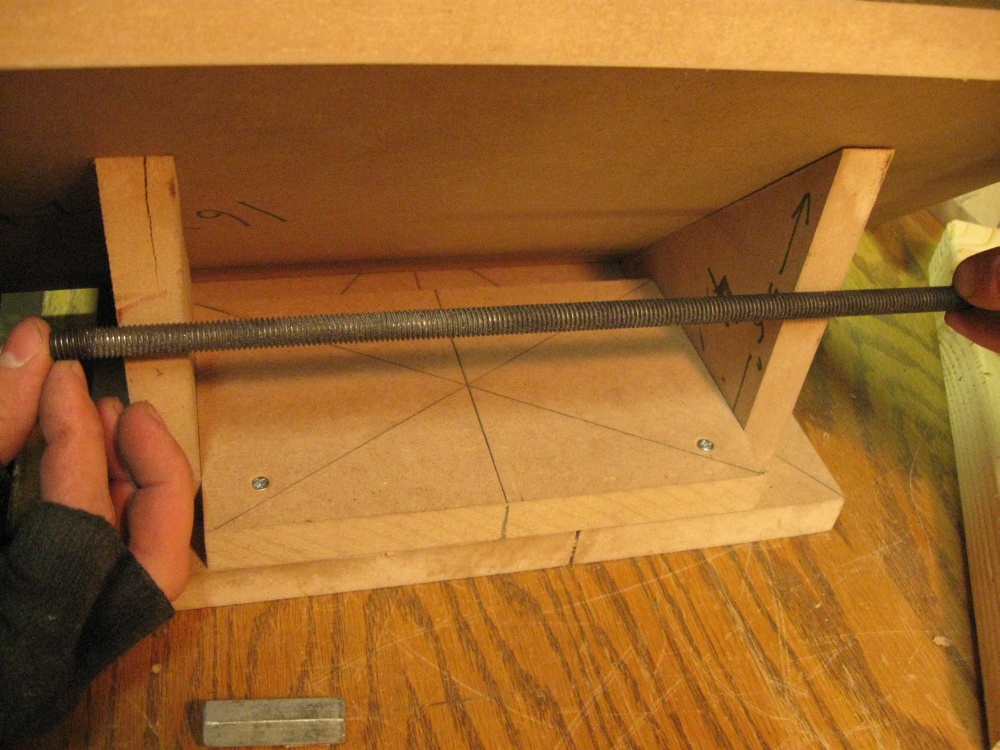
Here is a shot of the column from the front. You can clearly see that the back platen plate is clamped to the column. There is a shim between the back platen plate and the column to keep it from rubbing against the slides.
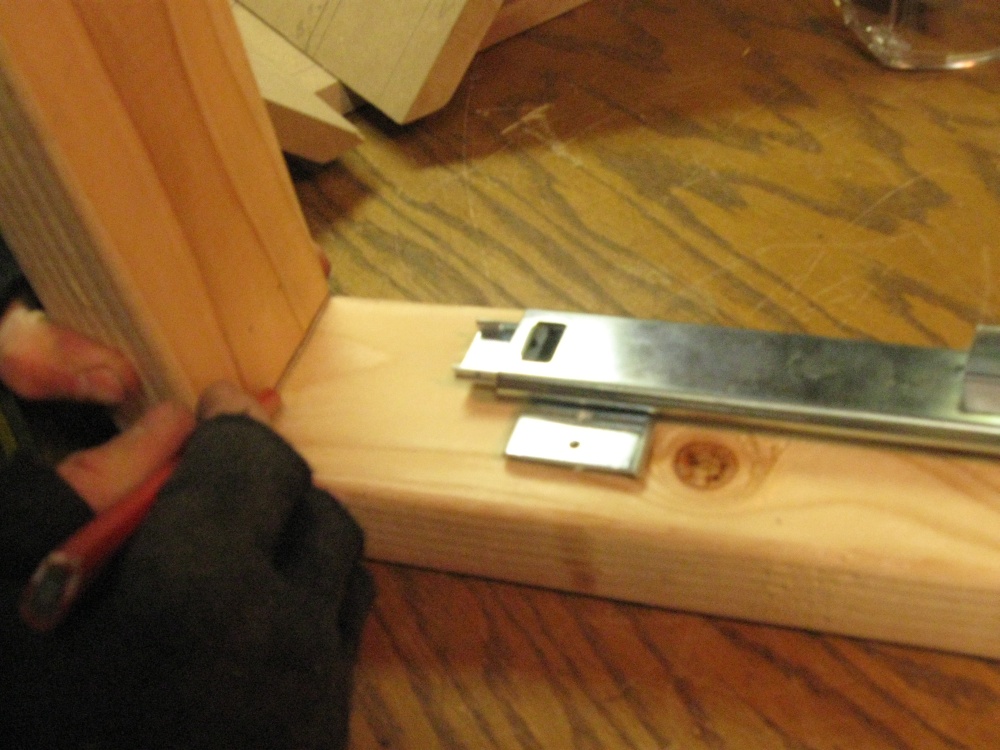
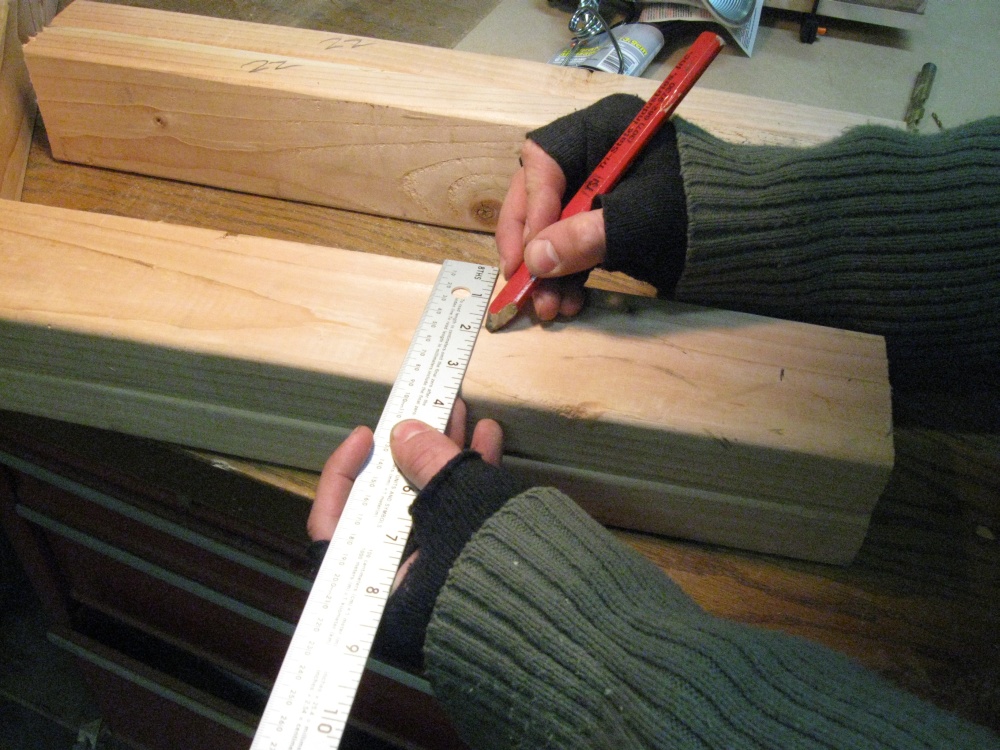
On the back, measure 3/4" from the sides of the slides. Then mark the center of that distance and mark some screw holes to be drilled.

After drilling those holes, cut a couple of small pieces of wood. They should be wider than the slides, so they stick out a little bit on either side. Mark their centers.
Place the small inside pieces of the drawer slides on them. Align the holes with the center marks you made. Trace the holes with a pencil.
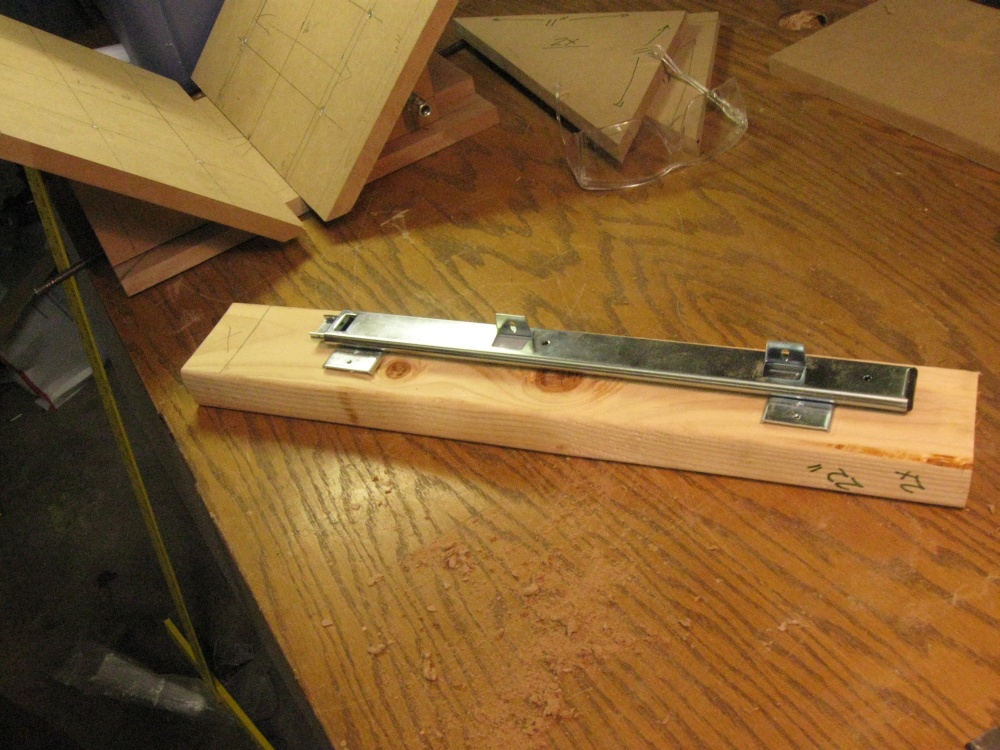
You should end up with something like this. Double-check that your holes are in a straight line and nicely parallel with the edges.

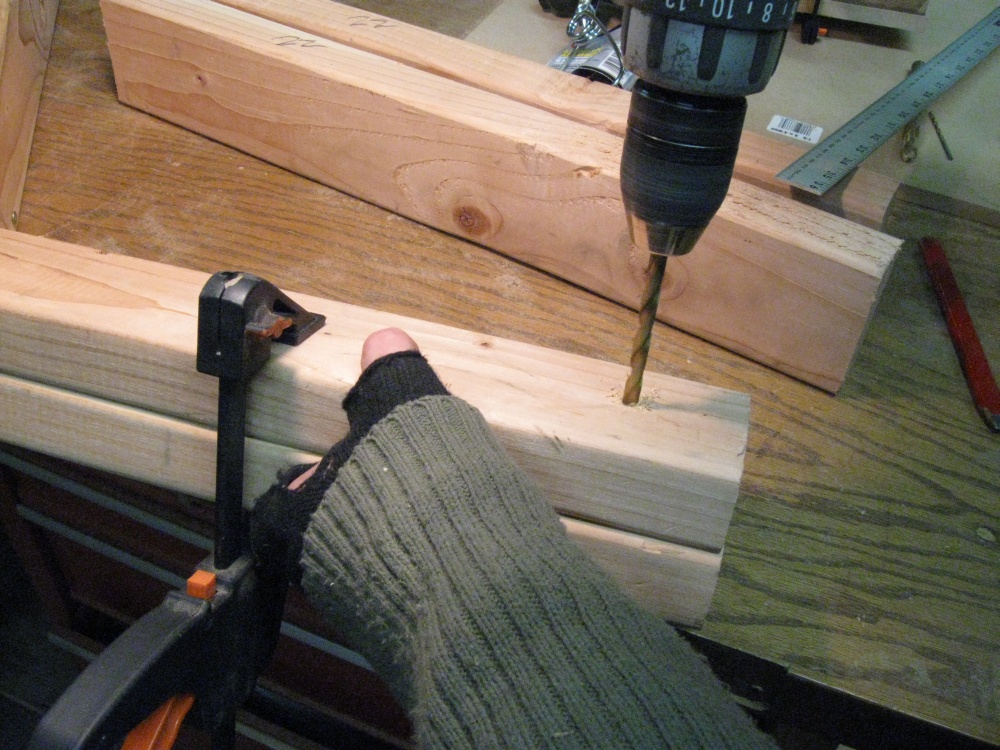
Drill them and then screw the small slide pieces to them. I used the small screws that came with the slides.

Mount them to the column... lookin' good!

Clamp the column to the back platen piece.
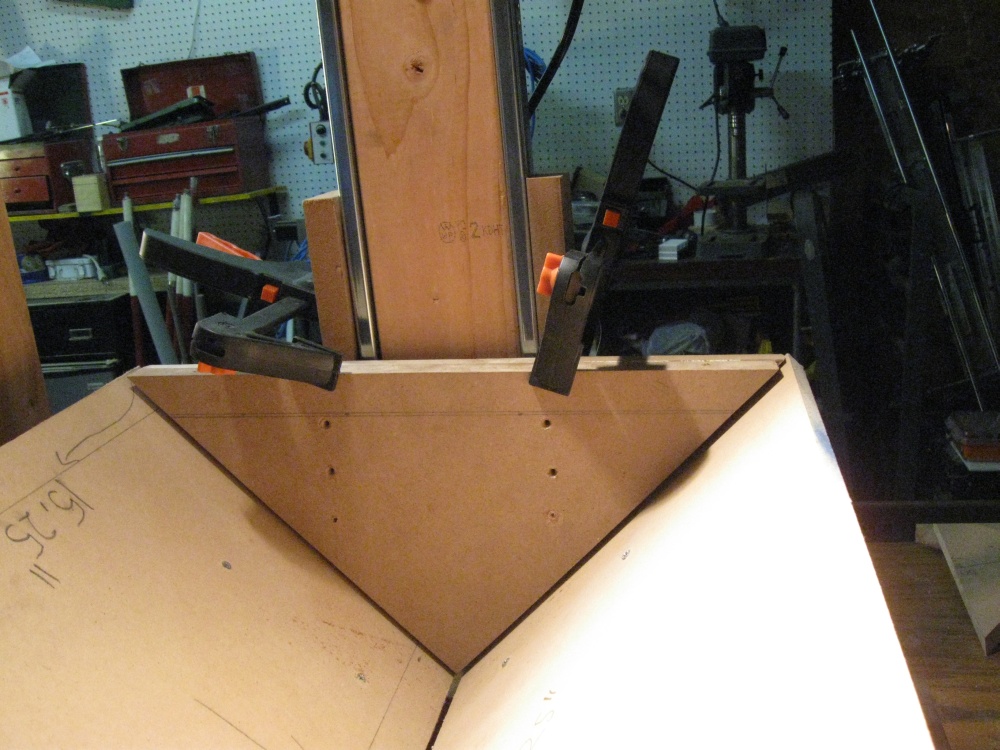
Drill the back platen piece to the pieces you just attached.
If you do not pre-drill these holes, the back pieces will split and you'll have to re-drill them.
Put the rest of the platen together, either separately or with the back plate mounted to the column.
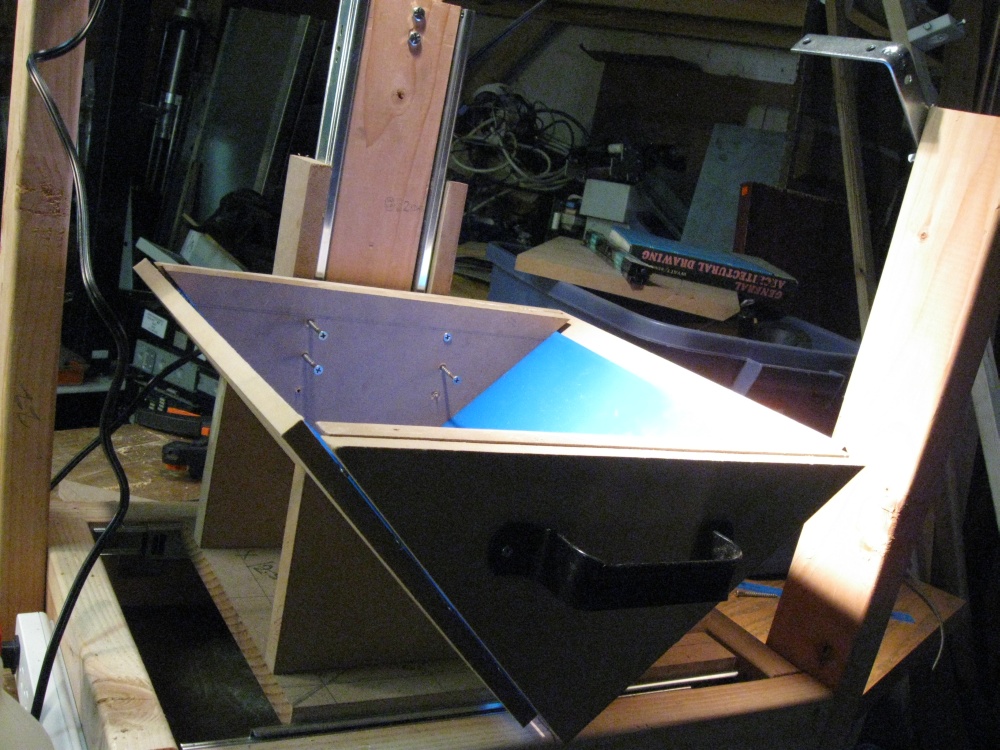
Platen is more-or-less done.