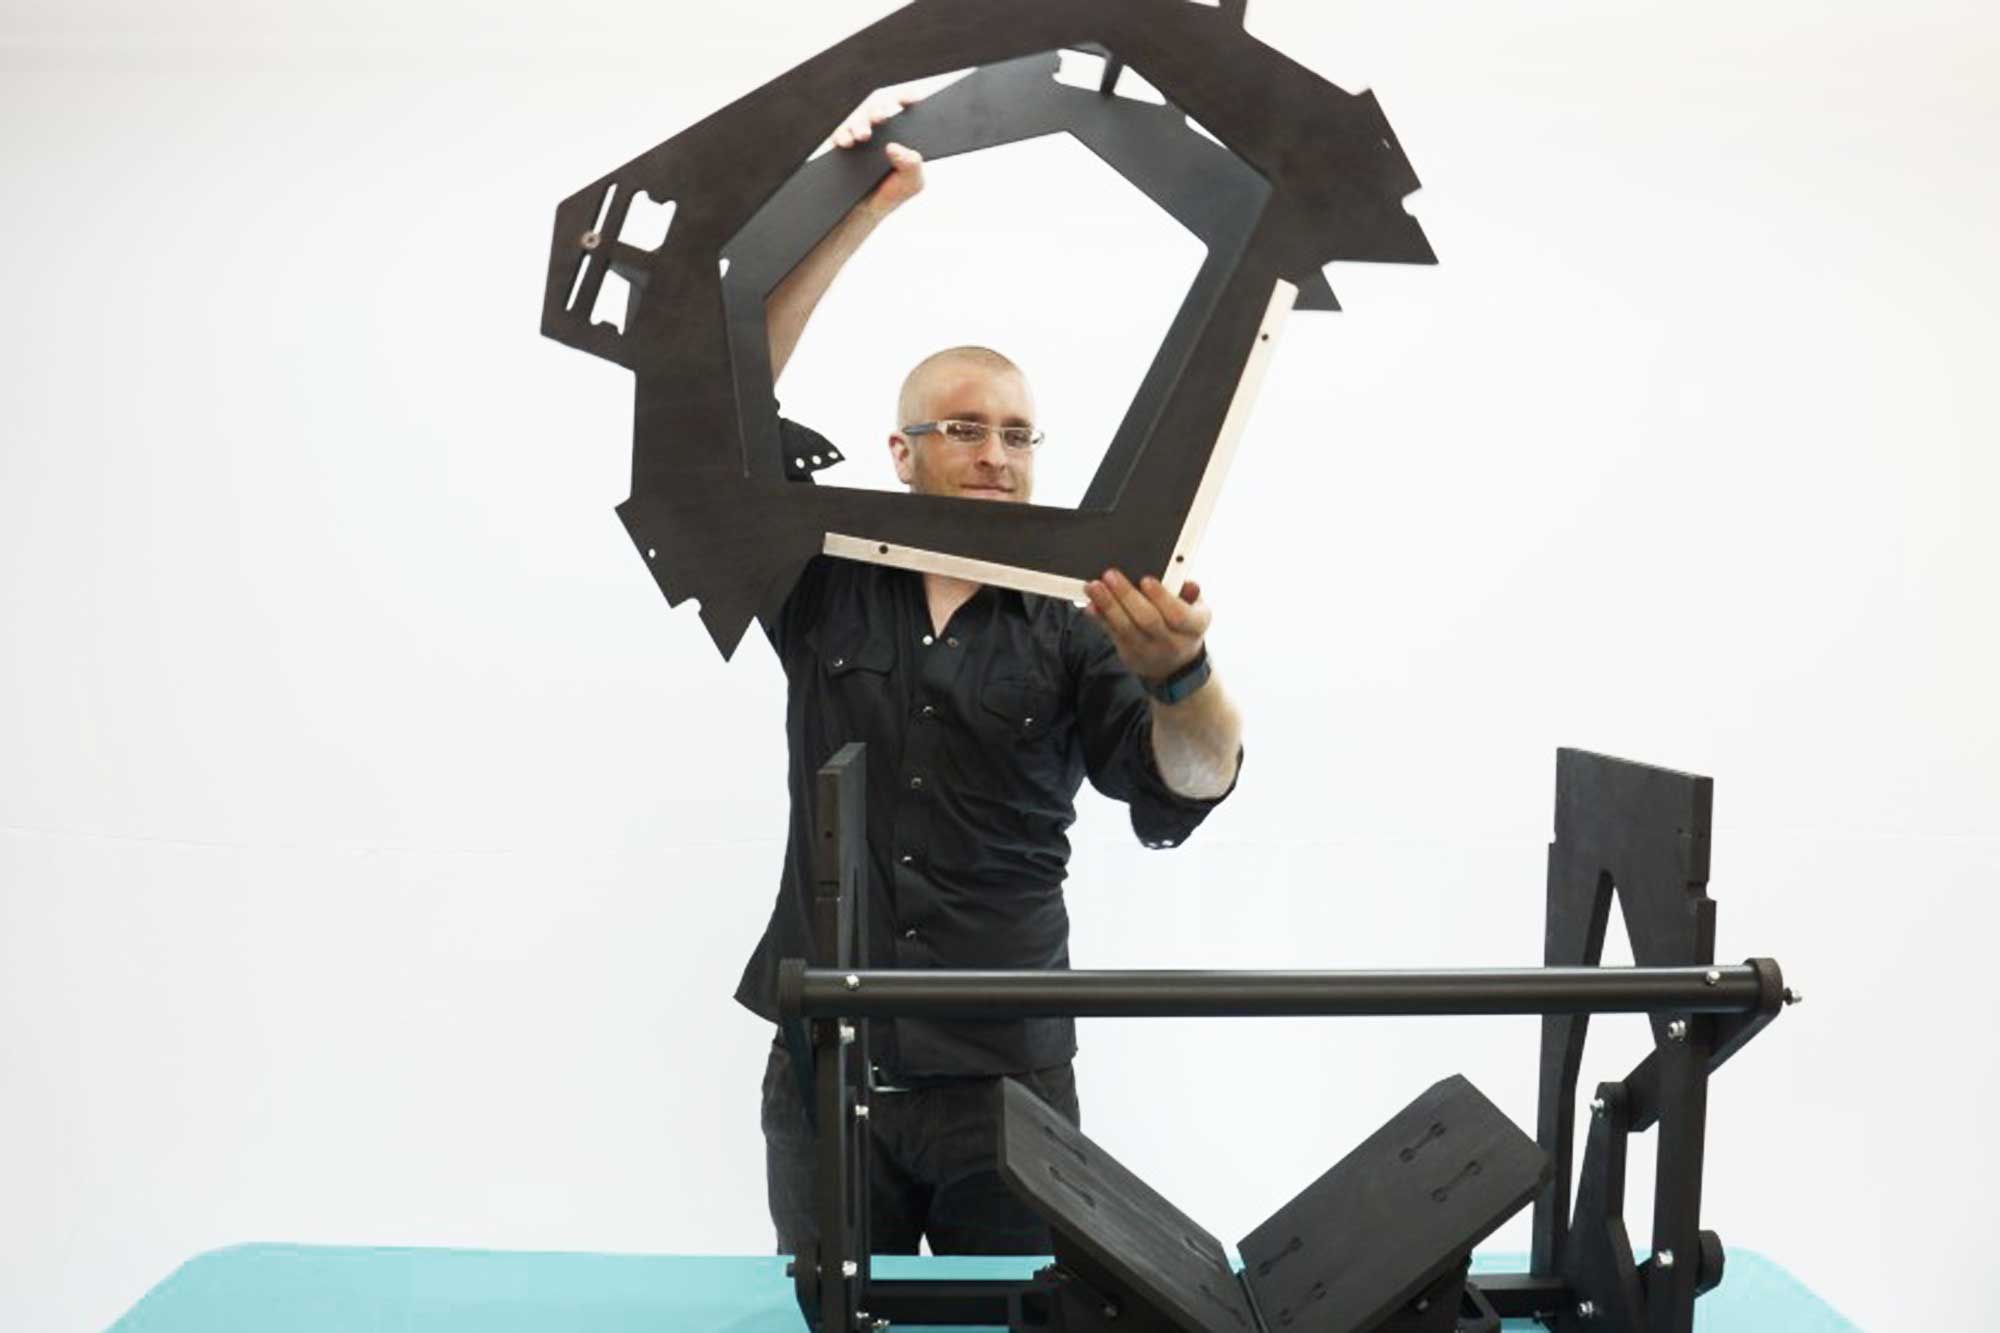
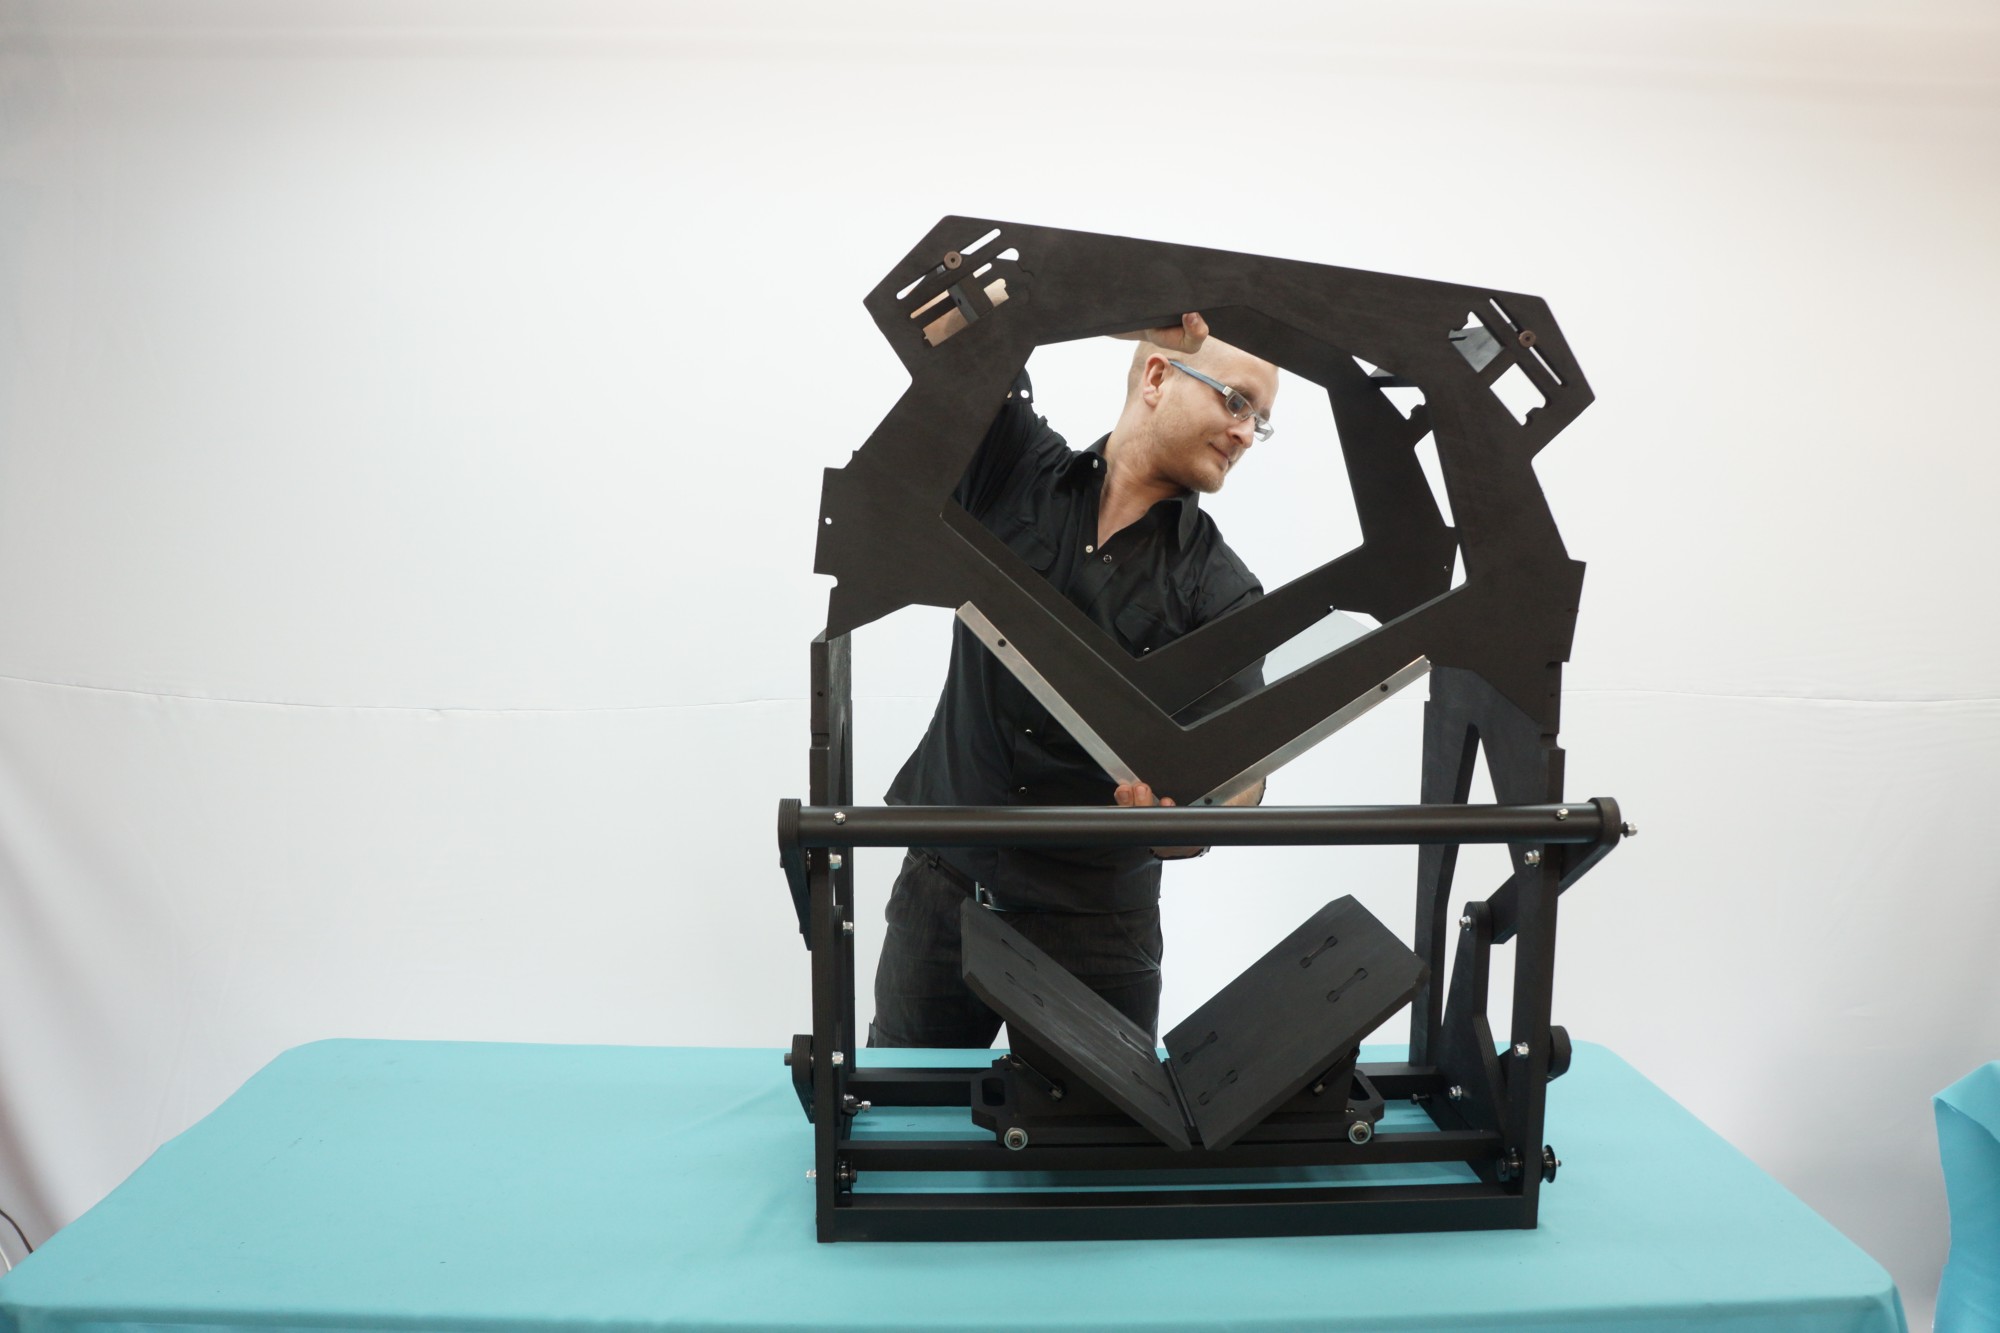
 In this image, I’m lifting the completed Imaging Module.
 Take the Front Plate (or Back Plate, they’re identical) and bolt on the Camera Braces with furniture bolts.
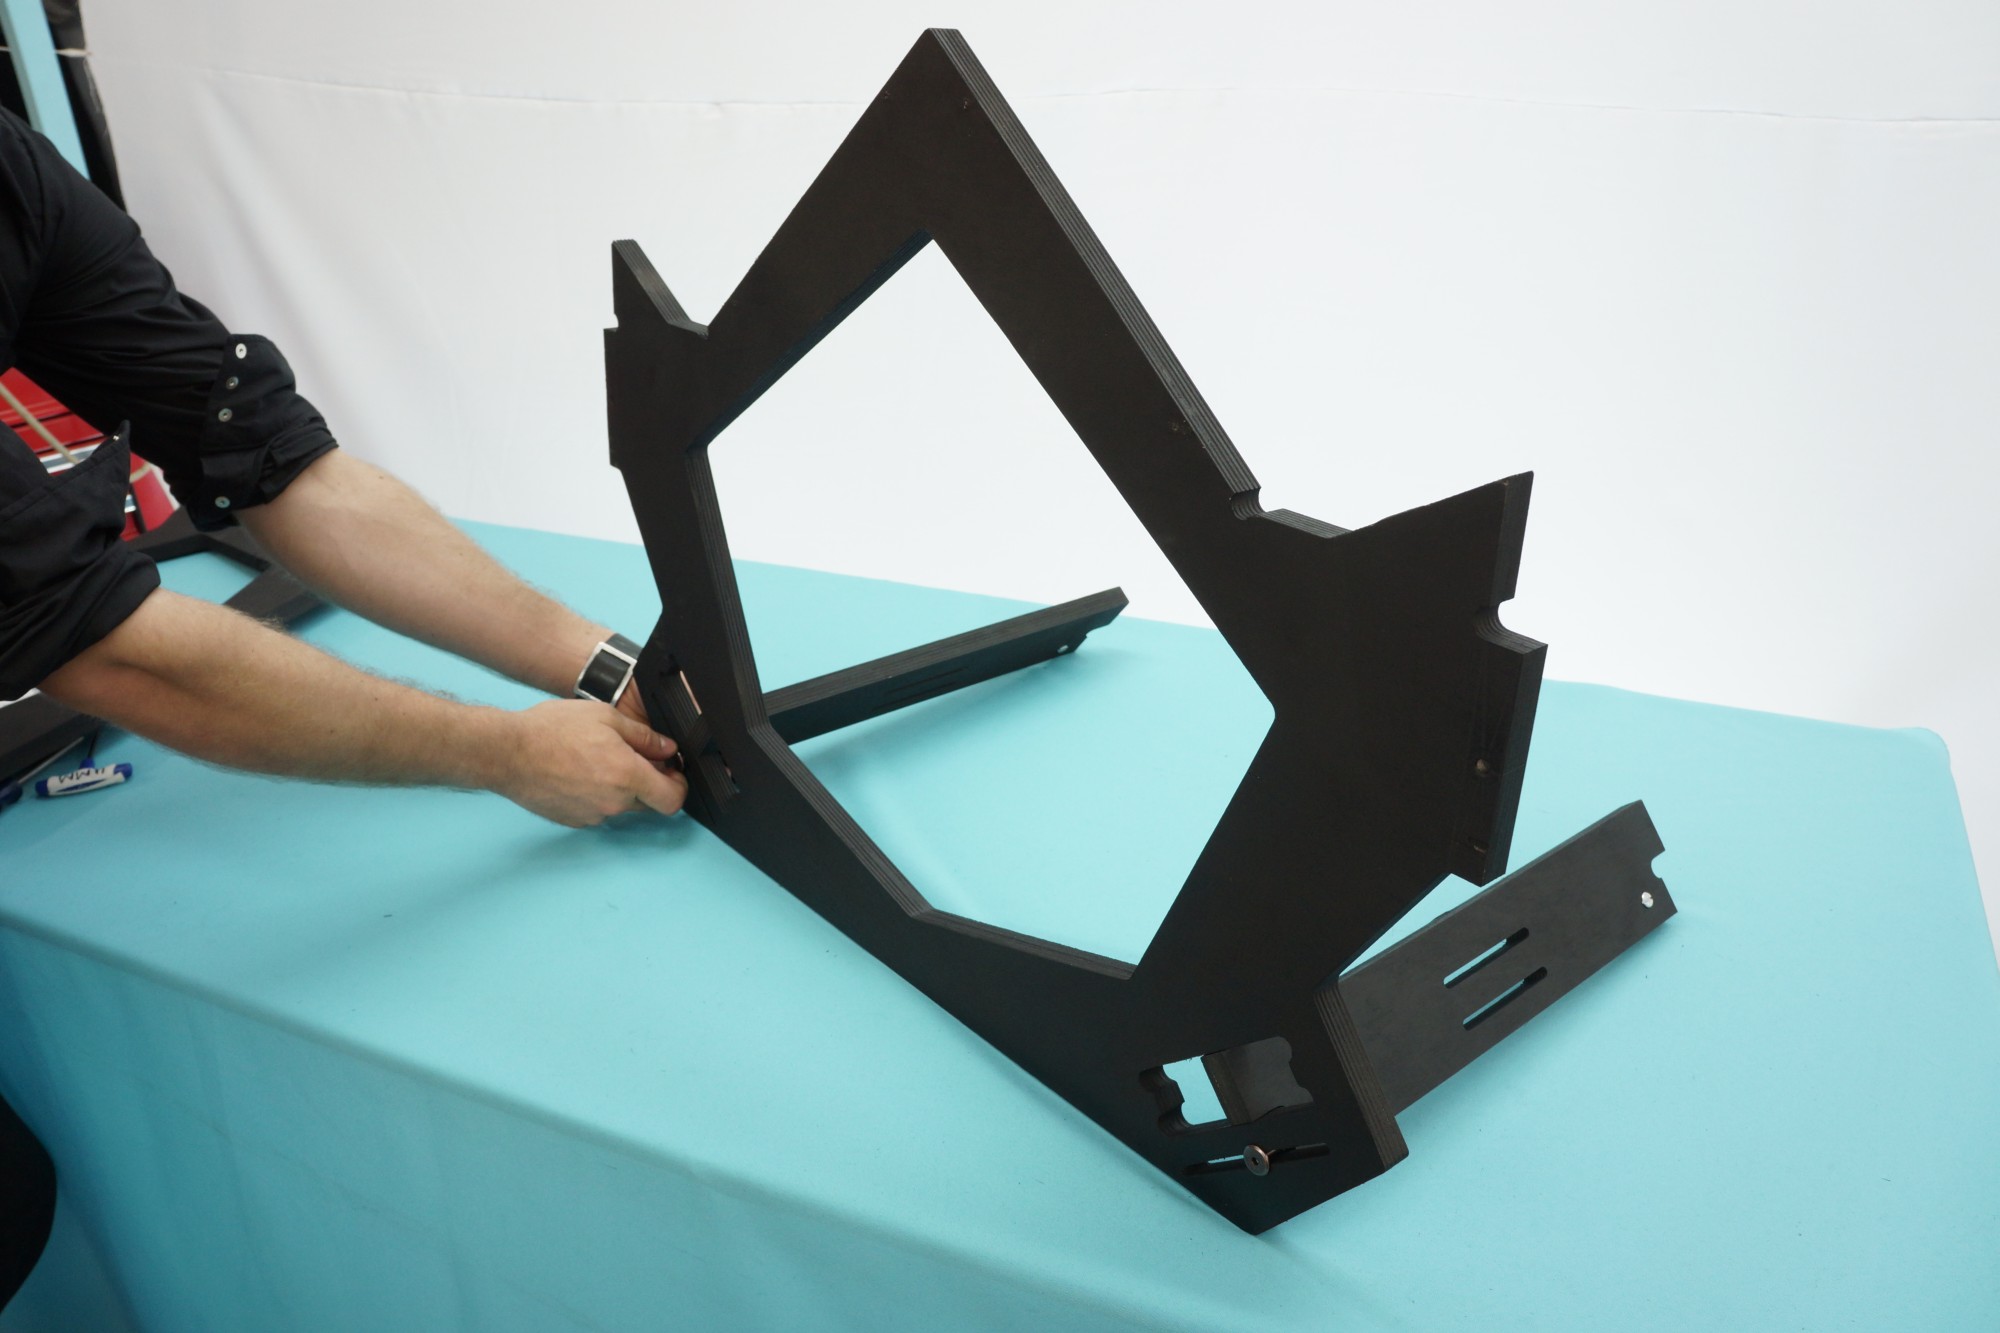
 Now bolt on the Back Plate.
 Apply electrical tape along the two shorter edges of both glass plates. The goal is to have the tape overlap both sides of the glass evenly, providing a surface to rest on the wood. The tape also pads the glass against abrasion from the metal brackets you’ll apply soon.
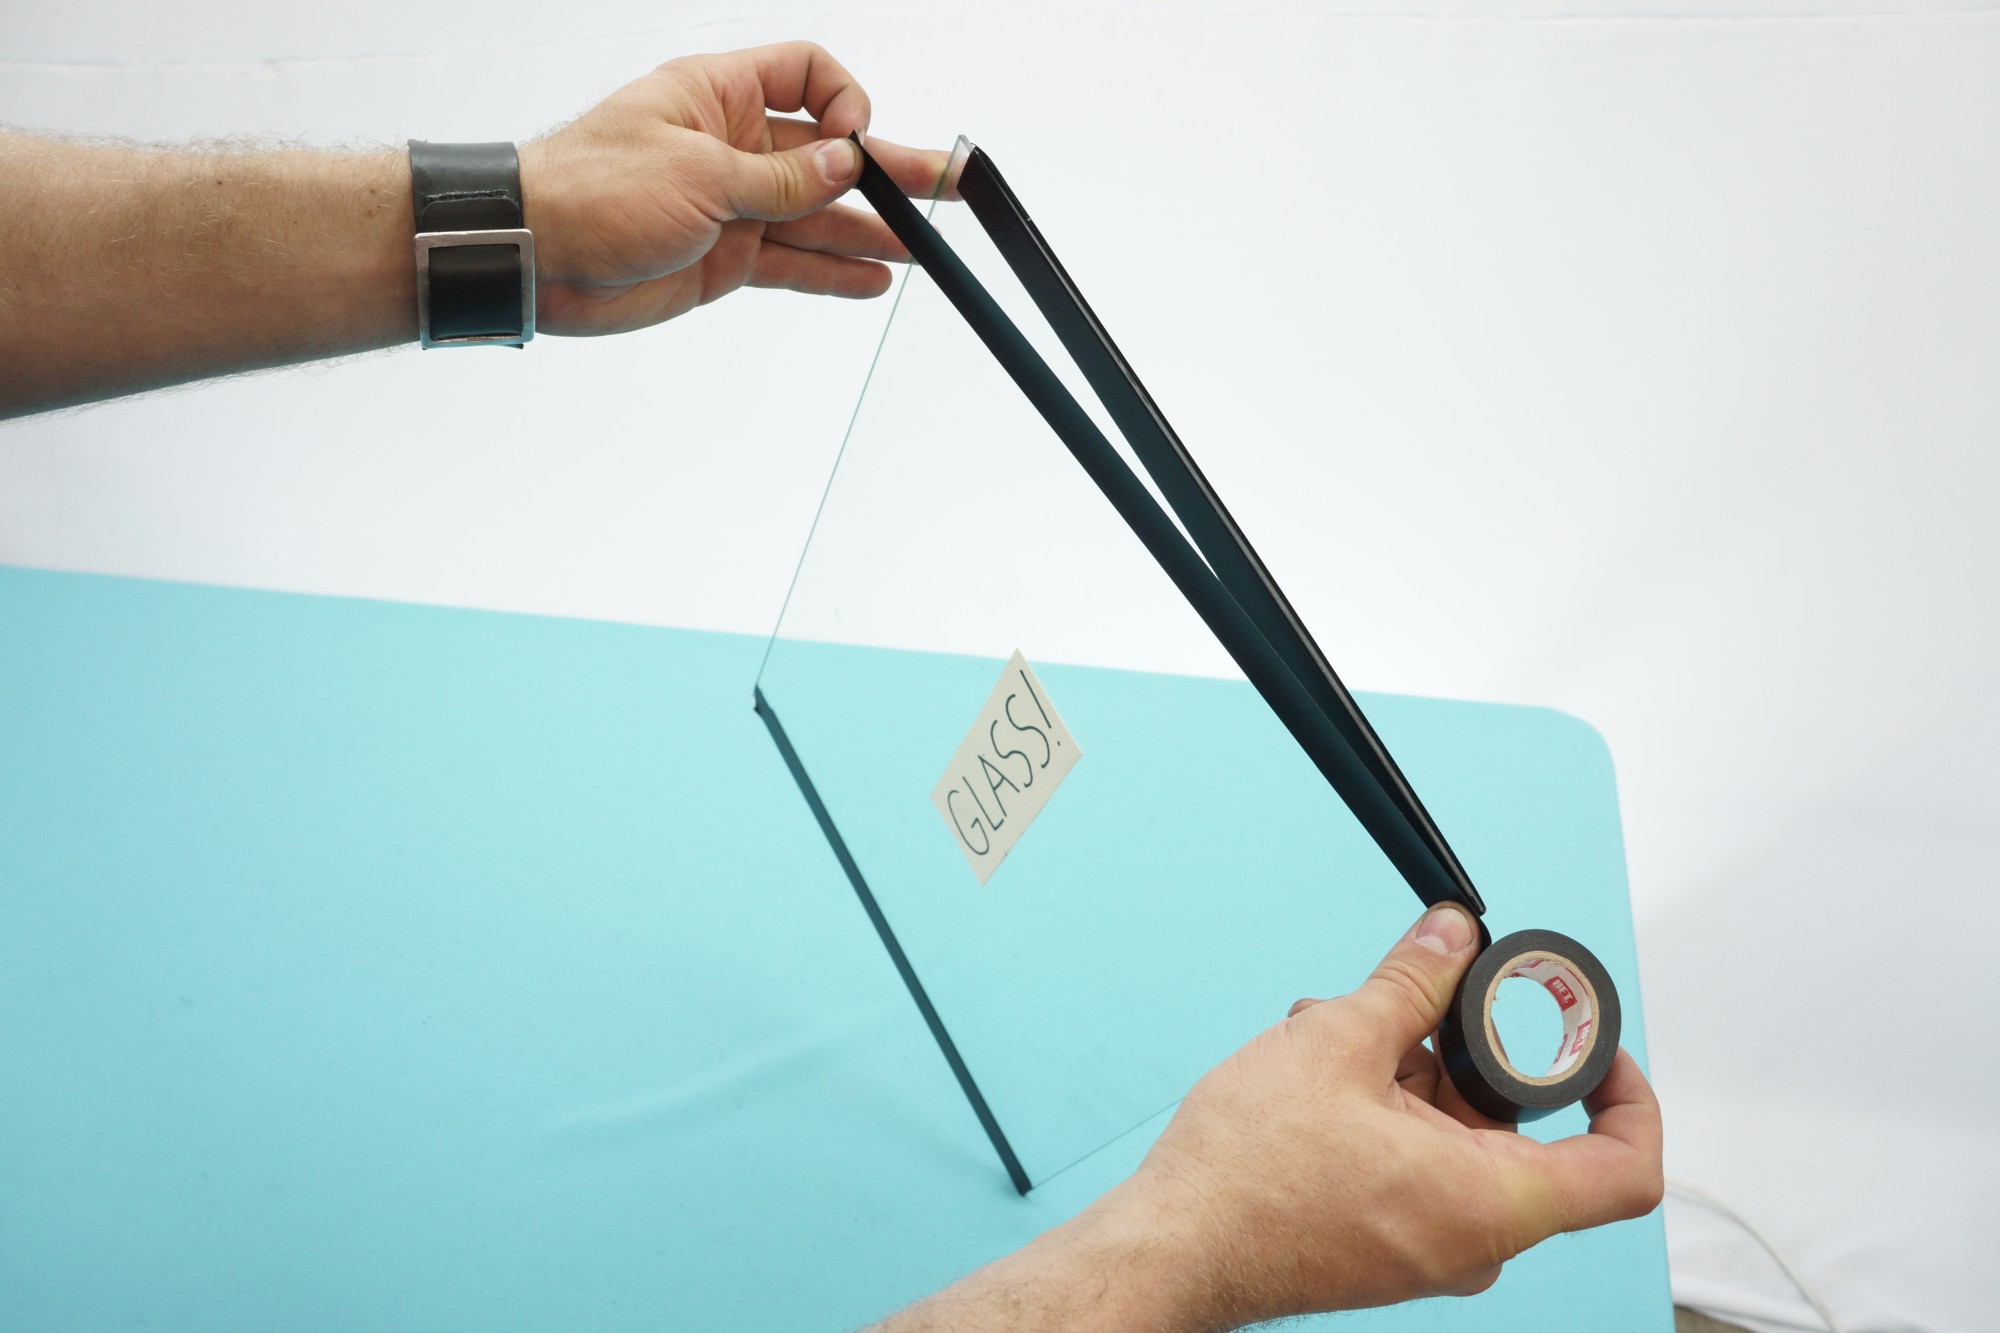
 Lay the glass edges together at the beveled edge. Tape them together five or six times. This creates a flexible hinge that keeps the plates together perfectly when you lay them on the module.
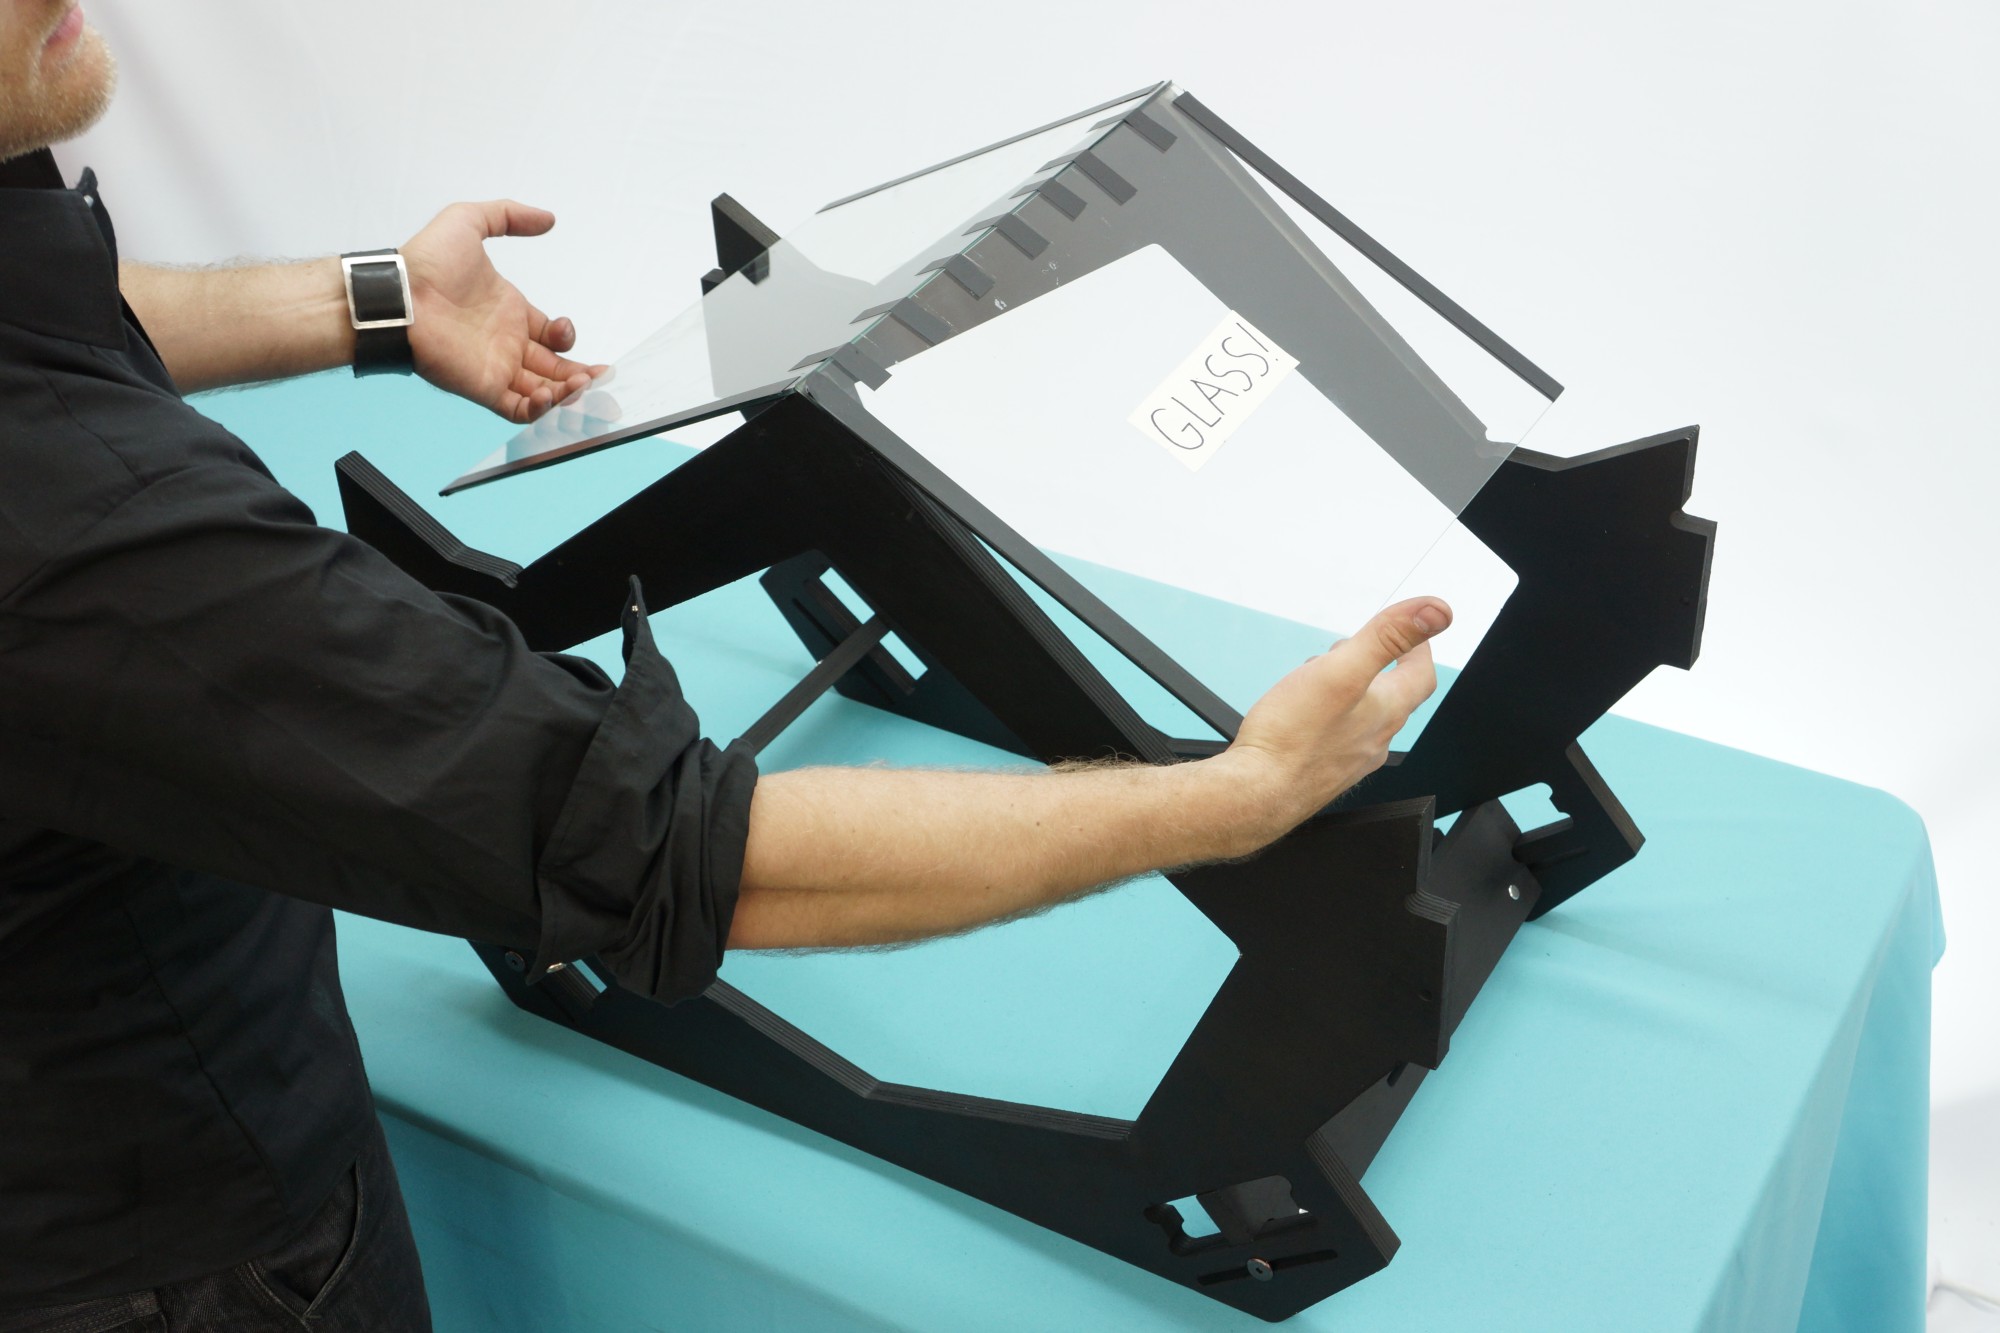 Flip the Imaging Module so the pointy parts go up. Seat your glass plates on the Imaging Module. The mitered edges of the glass plates should mate cleanly into a point.
 Tape the entire length of both glass plates to the wood frame.
 Grip the first bracket in place securely with your hand – a clamp could crack the glass. Screw the bracket into the wood. Start at one end of the bracket; screw point-to-point until finished. Don’t switch sides, it is easy to make it uneven. While screwing in the bracket, you may feel the bracket and wood pushing apart. Clamp harder with your hand, or get a friend to help you out. Then tighten the screw the last bit. Remove the tape when you’re done.
 The cradle is removable so you can easily place a book in it. Remove it (in this image, I’d forgotten to remove it). Pick up the Imaging Module so the pointy parts face down. Seat it into the slots on top of the Scanner Base. The whole Imaging Module is symmetrical, so it does not matter which side faces front. Be careful. Get a friend to help you. Cracking the glass will make you very sad.
 Insert a cross dowel into the Side Plate. Like before, line up the indentation with the corresponding bolt hole. Insert a furniture bolt and tighten, securing the Front Plate to the Side Plate. Repeat three times. Be sure to drop your wrench three times for good luck.